Navigation:
Installation, Configuration and Operation of Hardware > Installation and Configuration of Additional Devices > Hanwell IceSpy >> Physical Installation Procedure (typical)
Hanwell IceSpy Devices - Physical Installation Procedure (Typical)

Contents
This Section outlines the generic setup steps required to physically install the following Hanwell IceSpy Devices:
•Hanwell IceSpy Network Receiver
•Hanwell IceSpy Repeater Unit
•SMS Module
•ARB Module
Each of these Units will be referred to as a ‘Device’ in the following procedure.
Install Step |
Notes |
||
|---|---|---|---|
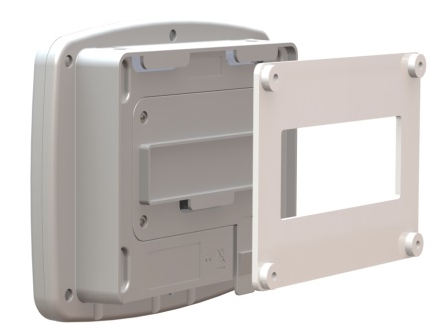
1.Using the mounting bracket as a drilling template, drill holes for the Device wall mounting bracket into the wall at an appropriate location. 2.Using the spacers provided to give clearance, screw the mounting bracket to the wall*.
3.If installing an IN-NR001F1-ANT Network Receiver, fix the antennae mounting brackets in a suitable location*. |
When mounting the Device, you should bear in mind that you may need to run cables from the Device to the 12V power supply, Ethernet and RS485 connections.
*The Planned Location MUST NOT have any metallic objects within 0.3m in any direction of: Either: Any part of the Unit. Or: In the case of IN-NR001F1-ANT Network Receiver, the Unit or either attached antennae.
|
||
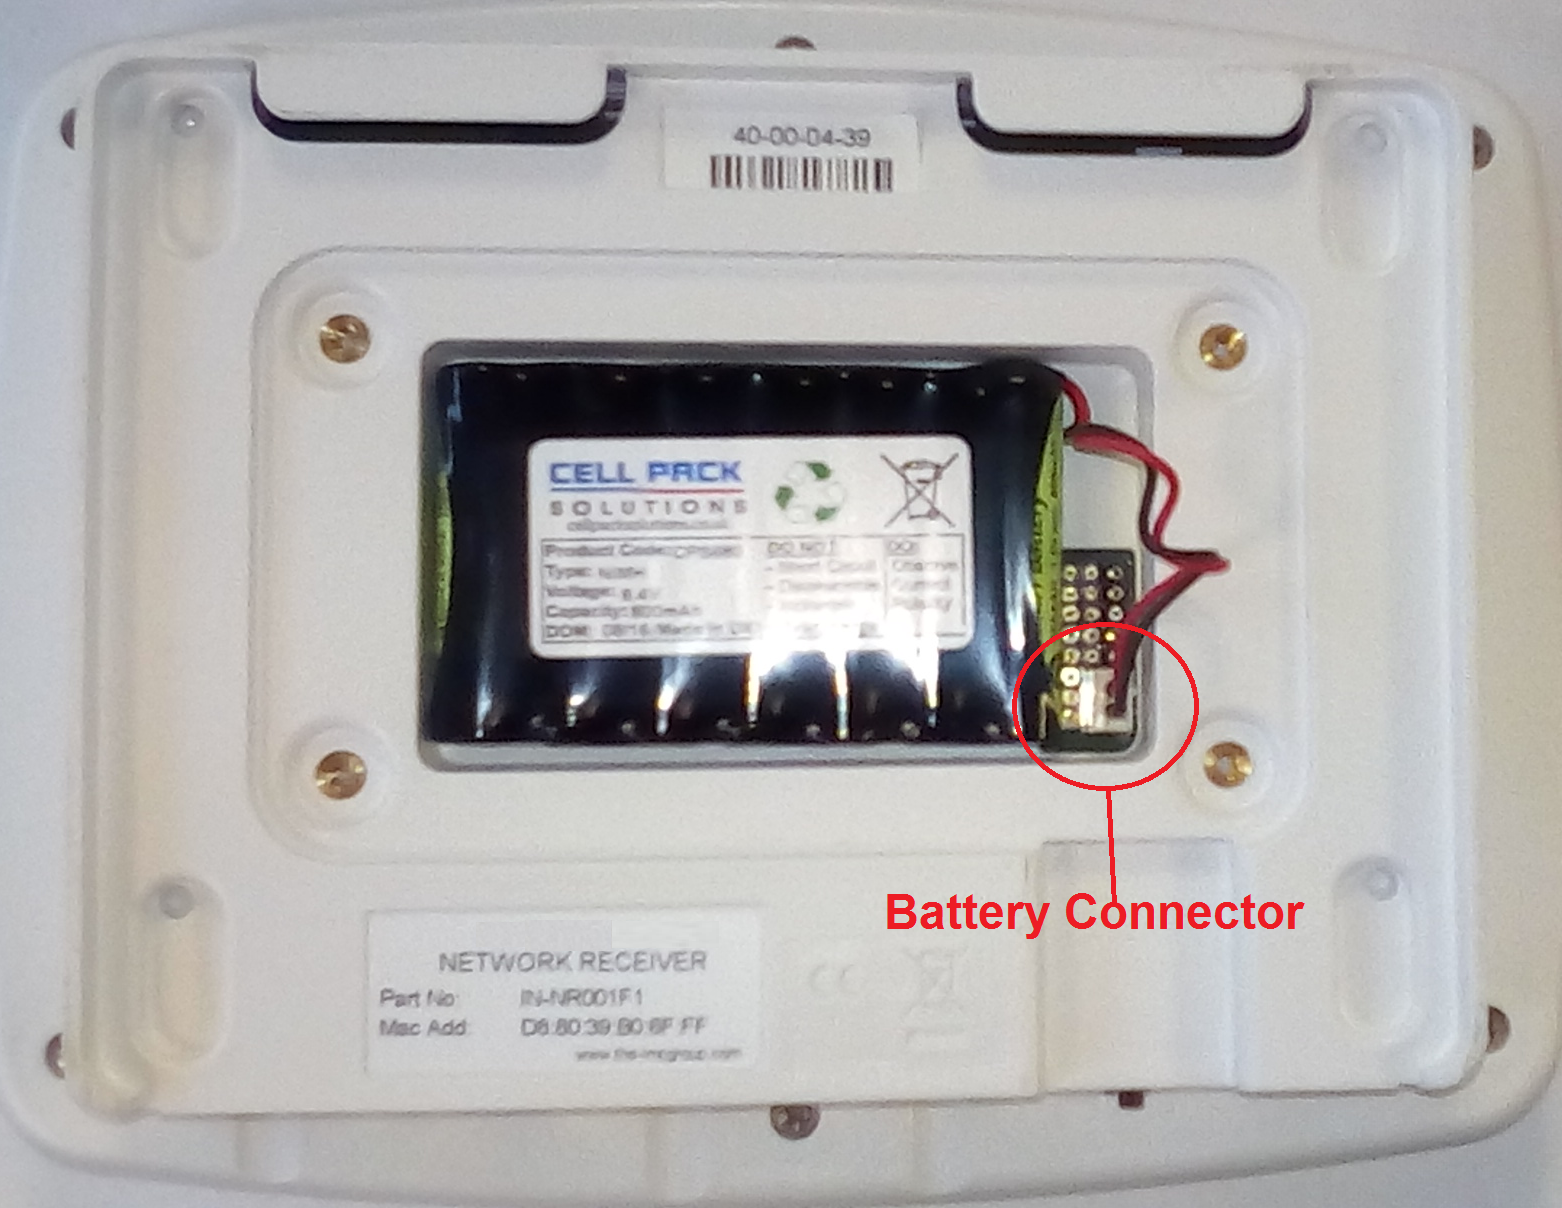
4.Using a Phillips screwdriver, remove and retain the screws from the battery cover plate at the rear of the Device.
|
|
||
5.Insert the backup battery into the recess at the rear of the Device, taking care to insert the connector attached to the battery into the matching connector within the Device.
|
|
||
6.Screw the battery cover plate to the rear of the Device. |
|
||
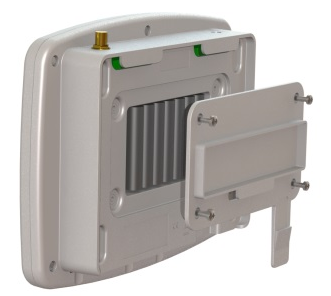
7.Attach the Device to the mounting bracket. |
If installing an IN-NR001F1-ANT Network Receiver, also attach the two G492 antennae to their mounting brackets and connect the two Y556 antennae cables to the Unit. |
||
8.Using the supplied RJ45 cable, connect the Device to your Network. |
(Echo Module communicates by radio and must NOT be connected to a Network.) |
||
9.Using the supplied cable, connect the Device to its 12V power supply. |
|
||
10.Plug the power supply cable into the power supply Unit. |
|
||
11.Slide the appropriate plug adaptor onto the power supply. |
Do not connect the power supply to the mains supply yet. |
||
12.Plug in the Device power supply to the mains supply and switch on at the mains socket. |
A green light comes on. Power Supply works automatically with 110V-120V or 220V-240V mains voltage. |
||
12.Go into Hanwell EMS to add the Sevice and configure it for use. |
See: |