
Contents
To Add Zones to a Site
1.Click on the Sites radio button.
2.Either:
Graphical View
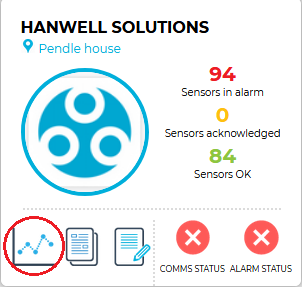
Click on the View Data icon on the relevant Site's Dashboard icon. See Figure 643 below:
Figure 643
Or:
Table View
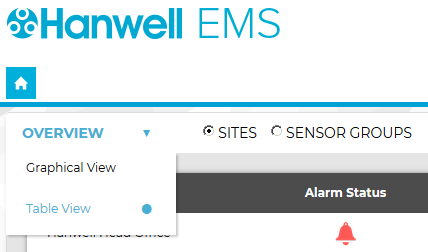
i.Select Table View from the OVERVIEW drop-down menu. See Figure 644 below:
Figure 644
•The Sites Table View window is displayed. See Figure 645 below:
Figure 645
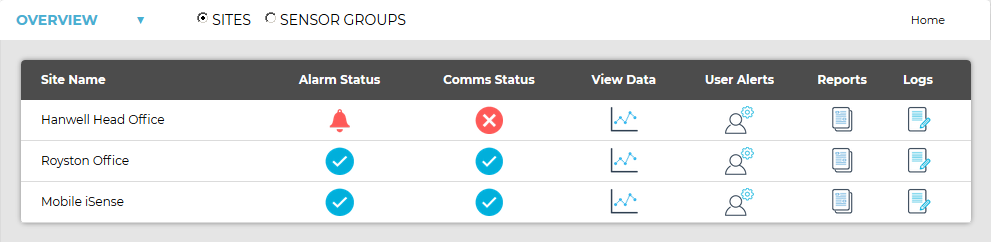
ii.On the Sites Table View window, click on the View Data icon associated with the Site you wish to view the Zones for. See Figure 646 below:
Figure 646

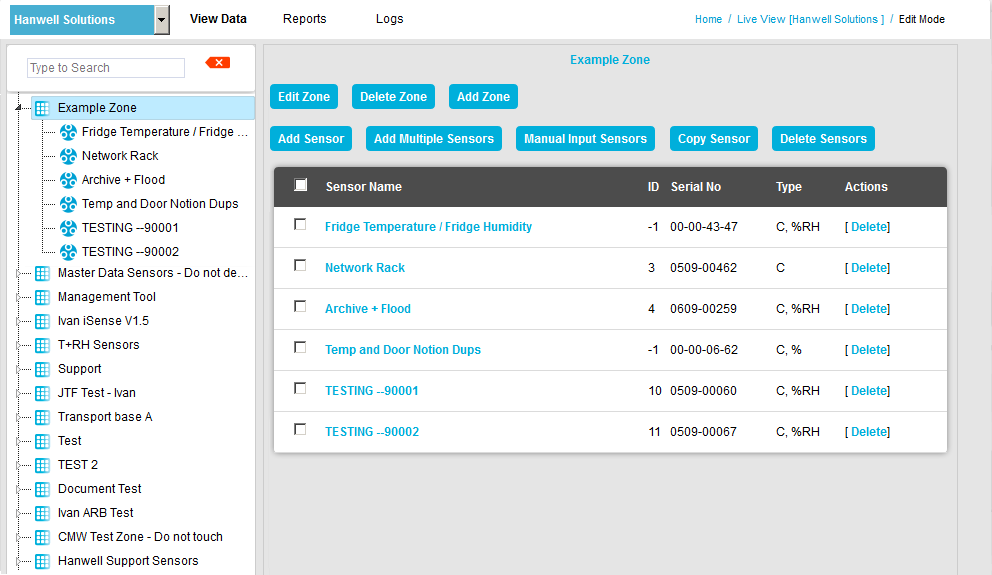
•In both cases, a Live View window for the selected Site is displayed, showing the Sensors associated with the first Zone listed. See Figure 647 below:
Figure 647

➢ To select another Zone, click here.
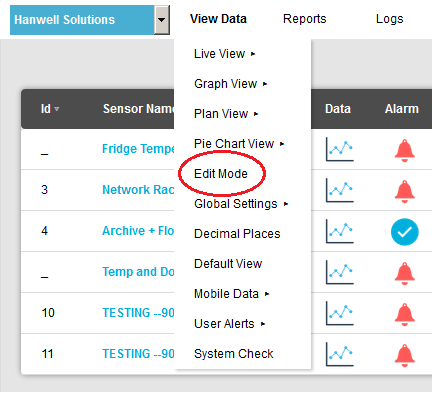
3.Select Edit Mode from the main View Data menu. See Figure 648 below:
Figure 648
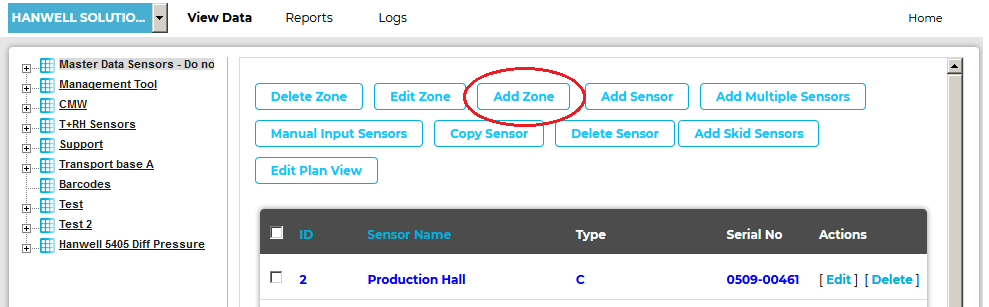
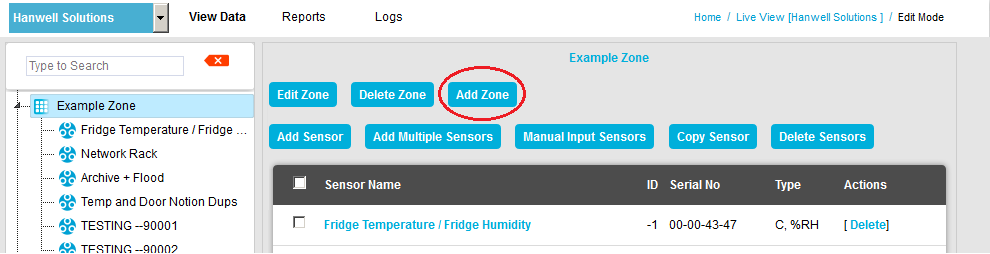
•The Edit Mode window is displayed. See Figure 649 below: Figure 649
4.Click on the Add Zone button. See Figure 649 above. •The Add Zone window is displayed. See Figure 650 below: Figure 650
5.Enter a name for the Site's new Zone into the Zone Name: dialog box. •Select a name for the Zone that will make it easy to identify either the type of sensors in the Zone or the location of the Zone. 6.Tick the Enable boxes to enable the required channels for the Zone. Note: When a Zone is added, the Battery Level Indicators for devices associated with the new Zone are turned off by default. 7.When happy, click on the Add Zone button. •Click on the Cancel button to cancel adding a new Zone. •The new Zone will be added to the left-hand menu. See Figure 651 below:
Figure 651
|
•The Edit Mode window is displayed. See Figure 652 below:
Figure 652
4.Click on the Add Zone button. See Figure 653 below:
Figure 653
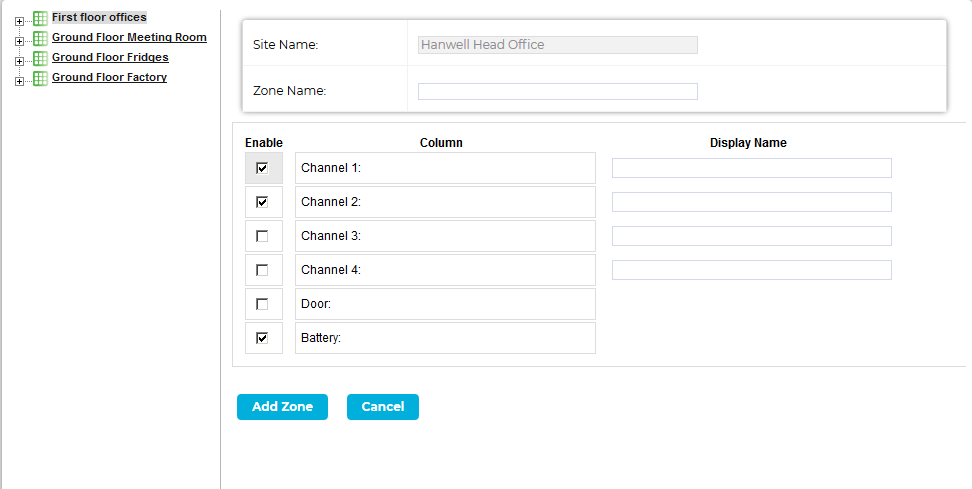
•The Add Zone window is displayed. See Figure 654 below:
Figure 654
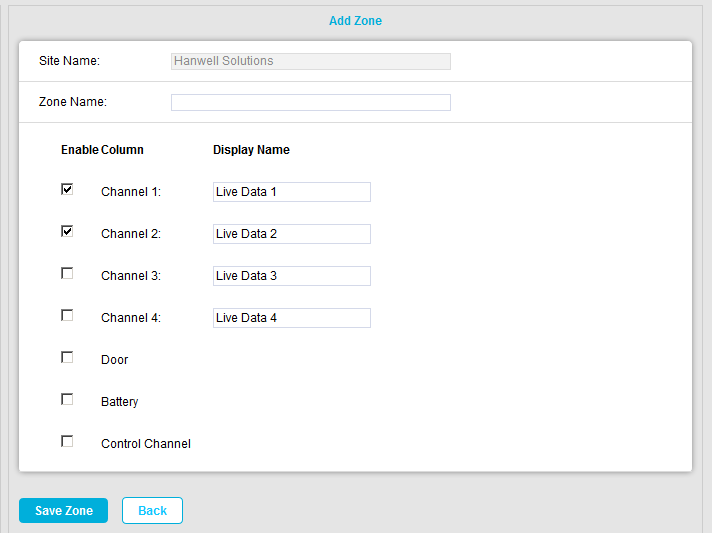
5.Enter a name for the Site's new Zone into the Zone Name: field. See Figure 655 below:
Figure 655
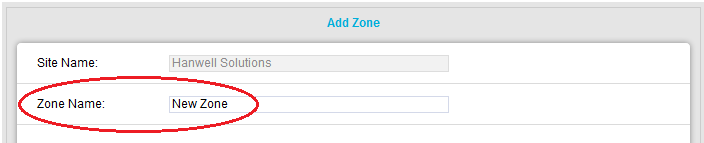
•Select a name for the Zone that will make it easy to identify either the type of Sensors in the Zone or the location of the Zone.
6.Tick the Enable boxes to enable the required channels for the Zone.
| Note: | When a Zone is added, the Battery Level Indicators for devices associated with the new Zone are turned off by default. The Battery Level Indicators are intended for use with IceSpy and Transport transmitters; to turn the Battery Level Indicators on for these devices, tick the Enable check box for the Battery: entry in the Column section of the Add Zone window. See Figure 655 above. See Replacement Batteries. |
7.When happy, click on the Save Zone button.
➢Click on the Cancel button to cancel adding a new Zone.
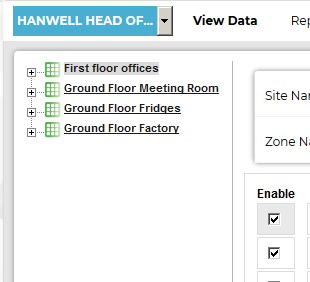
•The new Zone will be added to the left-hand menu and a green tick-box dialog will be displayed. See Figure 656 below:
Figure 656
