Navigation:
System Configuration Admin > Sensor Groups > Managing Sensor Groups >> Assigning Local Alarms to a Sensor Group
Assigning Local Alarms to a Sensor Group

Contents
Sensor Groups are used to control Local Alarms on SR2, ARB, CR2 USB and CR3 NW Control Devices, allowing the User to select a Control Device for handling local alarms on a Sensor Group.
If an alarm is activated for a Sensor that is a member of a Sensor Group, then the associated Local Alarm will be activated on the SR2, ARB or CR2 USB Control Device.
Assign Local Alarms to a Sensor Group
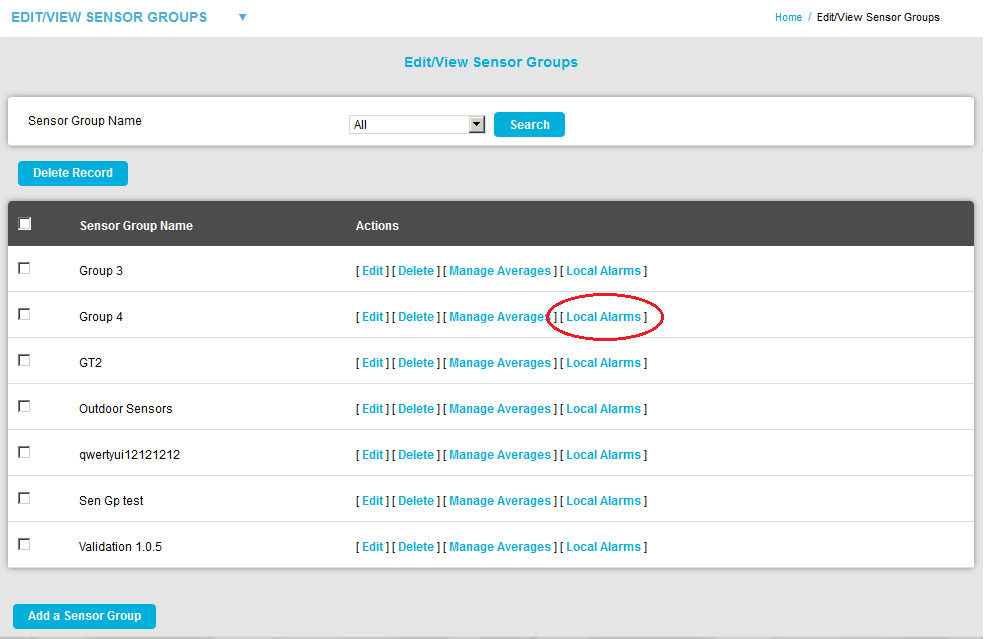
1.From the Edit/View Sensor Groups window, click on [Local Alarms] in the Actions column on the row containing the Sensor Group you wish to assign the Local Alarm to. See Figure 510 below:
Figure 510
•If necessary, create a Sensor Group, as described in Managing Sensor Groups, adding the required Sensors.
•The Local Alarms window is displayed for the selected Sensor Group. See Figure 511 below:
Figure 511
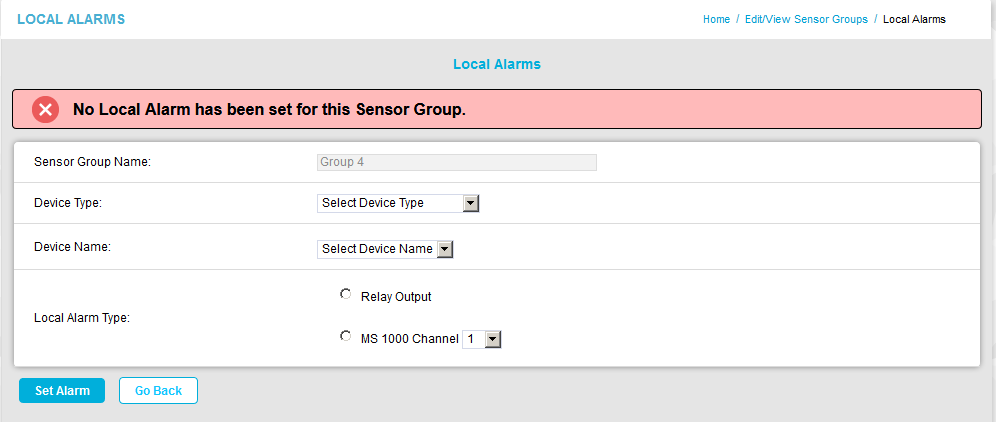
➢The 'No Local Alarm has been set for this Sensor Group' message will be displayed if no Local Alarms have previously been assigned to the selected Sensor Group. See Figure 511 above.
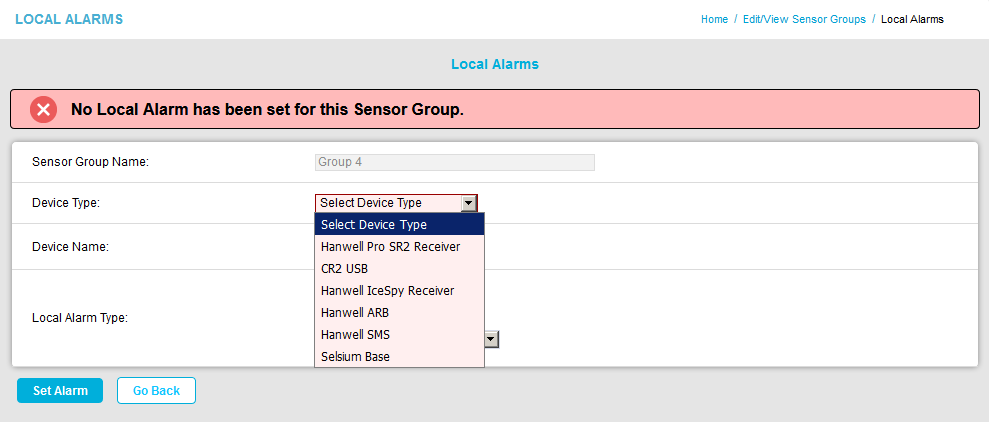
2.From the Device Type: drop-down list, select the required Control Device Type:
•Hanwell Pro SR2 Receiver;
•CR2 USB;
•Hanwell IceSpy Receiver;
•Hanwell ARB;
•Hanwell SMS
or
•Selsium Base.
See Figure 512 below:
Figure 512
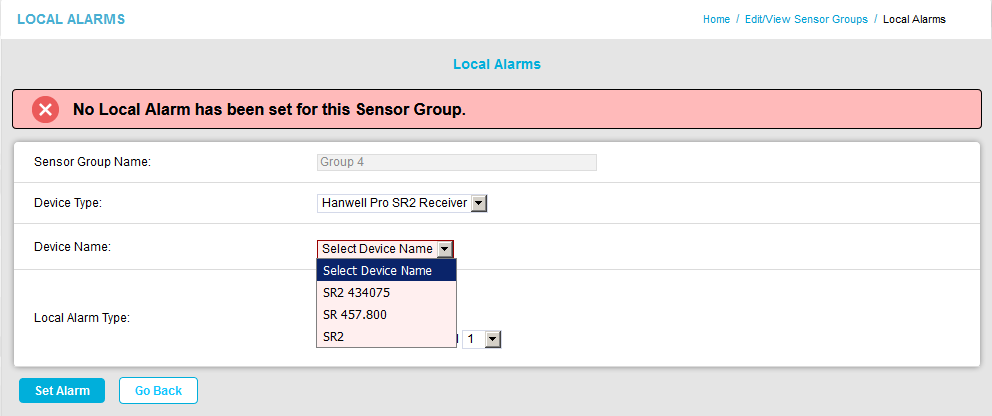
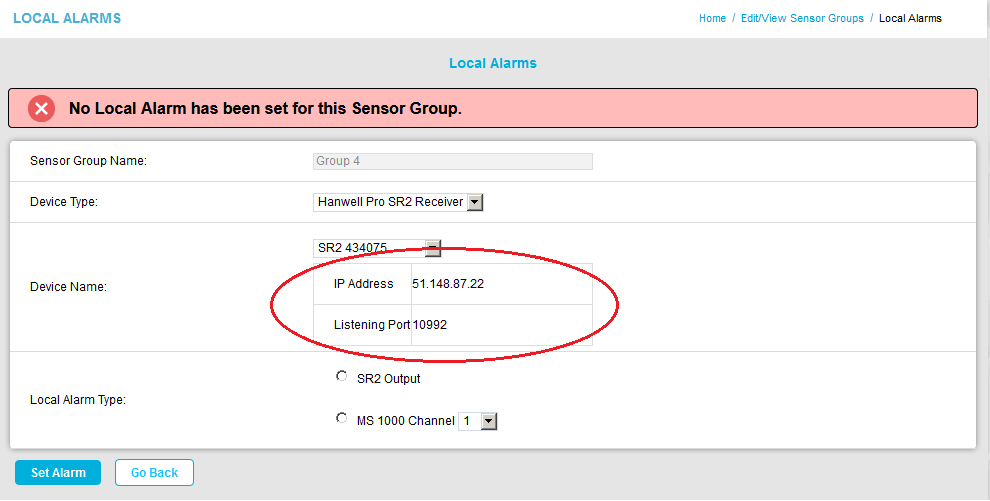
3.From the Device Name: drop-down list, select the required Control Device by name. Figure 513 below:
Figure 513
•The view will now change to display Device information and Local Alarm Type: options. See Figure 514 below for an example (Hanwell Pro SR2 Receiver):
Figure 514
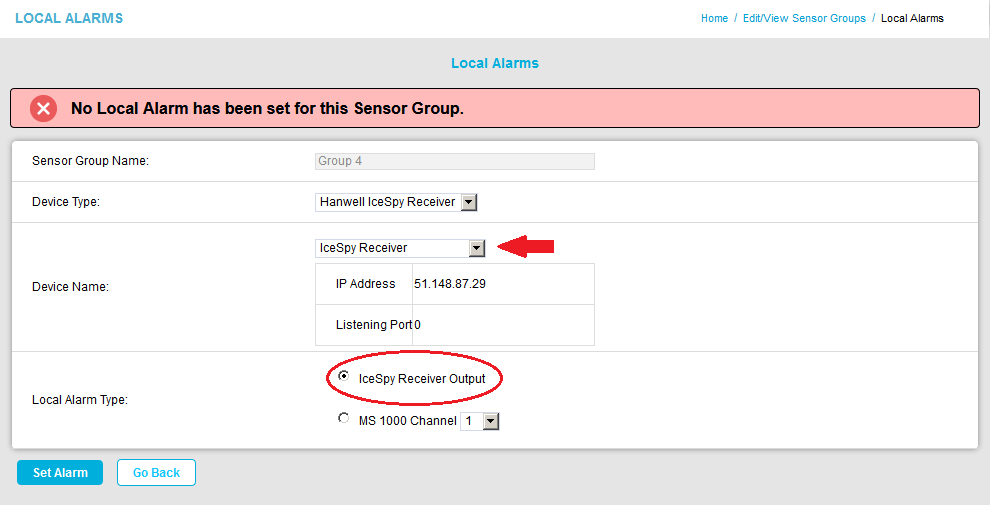
4.To output from a Hanwell Pro SR2 Receiver; CR2 USB or Hanwell IceSpy Receiver:
•Check the relevant Output radio button in the Local Alarm Type: section of the Local Alarms window. See Figures 515 and 516 and 517 below:
Figure 515
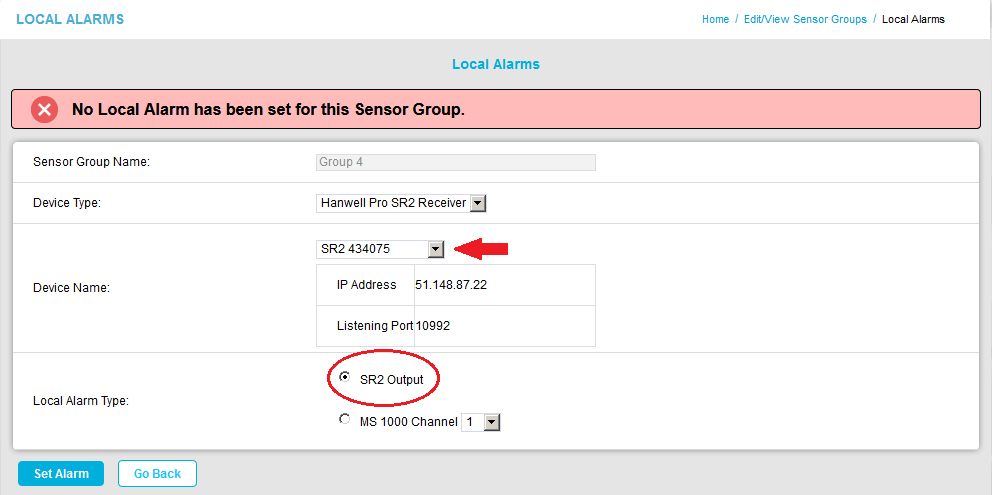
Figure 516
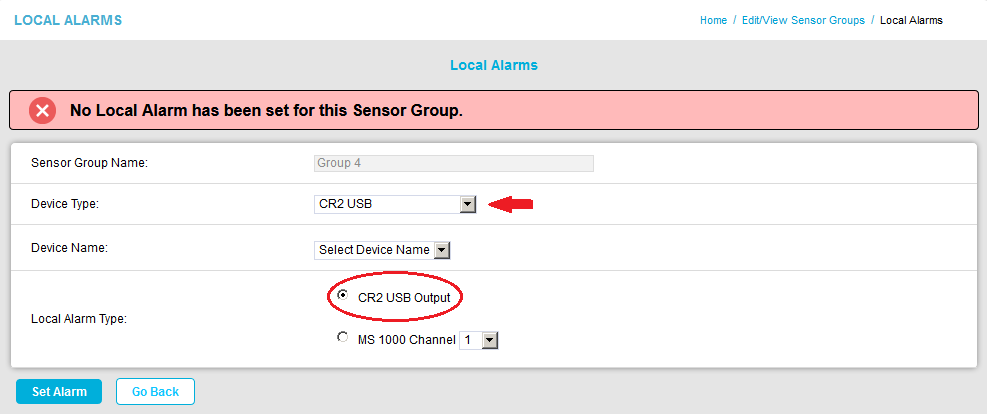
Figure 517
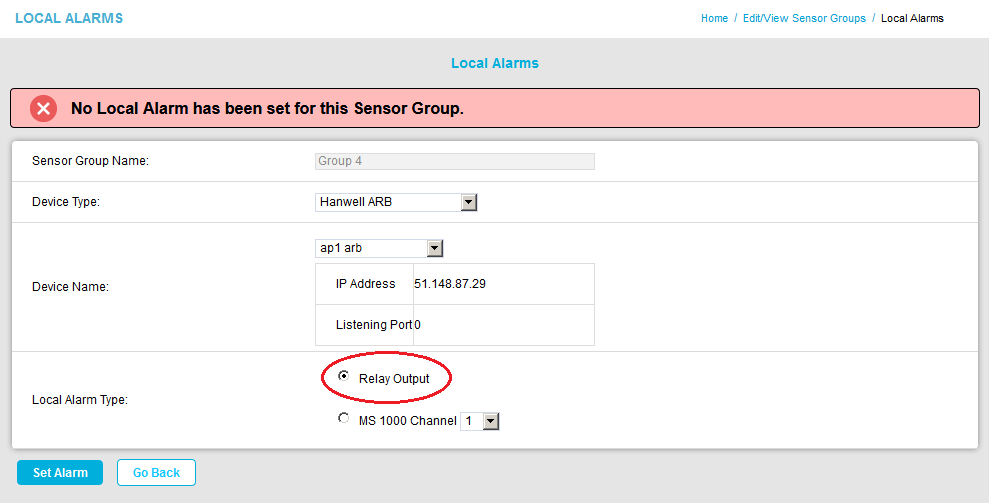
To output from a Hanwell ARB; Hanwell SMS or Selsium Base:
•Check the Relay Output radio button in the Local Alarm Type: section of the Local Alarms window. See Figure 518 below for an example (Hanwell ARB):
Figure 518
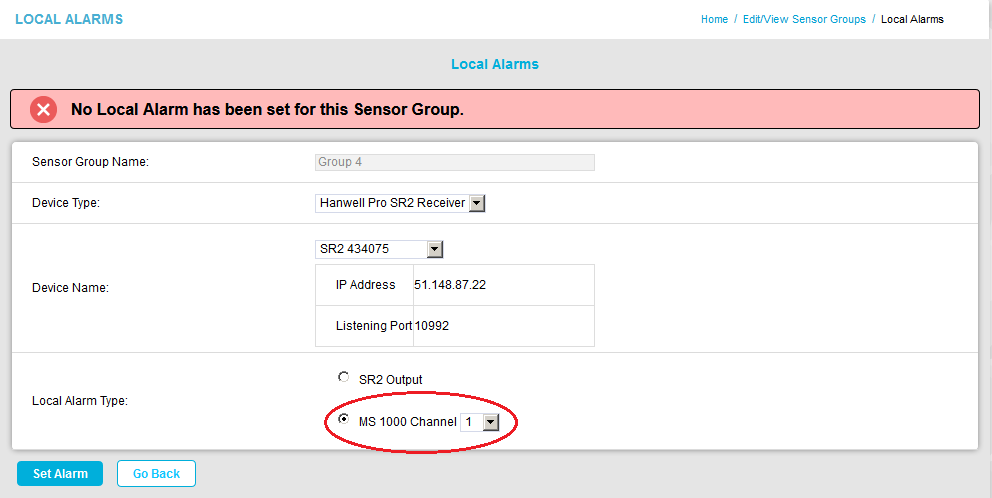
To output to an MS1000 card (not available with Hanwell SMS Control Device Type):
i.Select the Radio button, adjacent to the MS 1000 Channel in the Local Alarm: section of the window. See Figure 519 below for an example (Hanwell Pro SR2 Receiver):
Figure 519
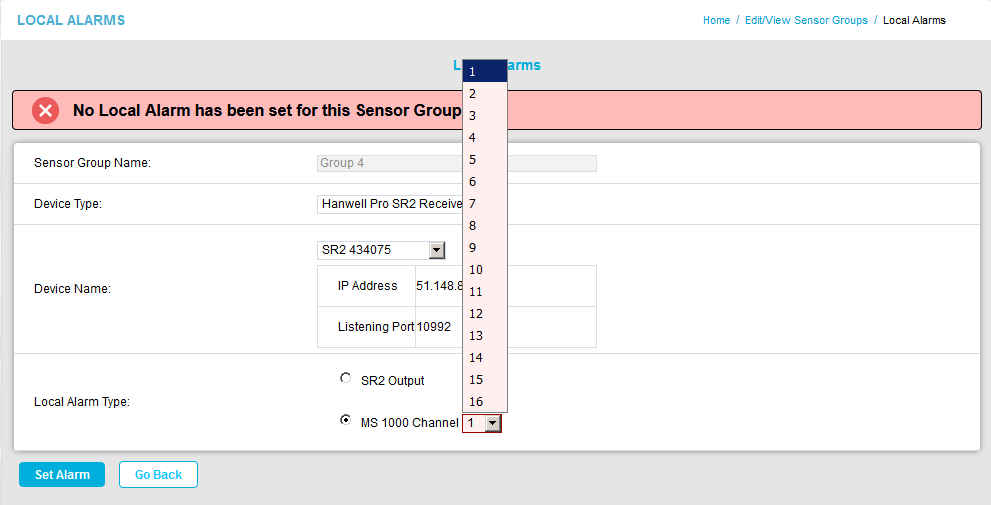
ii.Select the required Channel Number from the MS1000 Channel drop-down list. See Figure 520 below:
Figure 520
5.Click on Set Alarm.
•A message confirming that the Local Alarm has been set successfully is displayed in the Local Alarms window. See Figure 521 below:
Figure 521
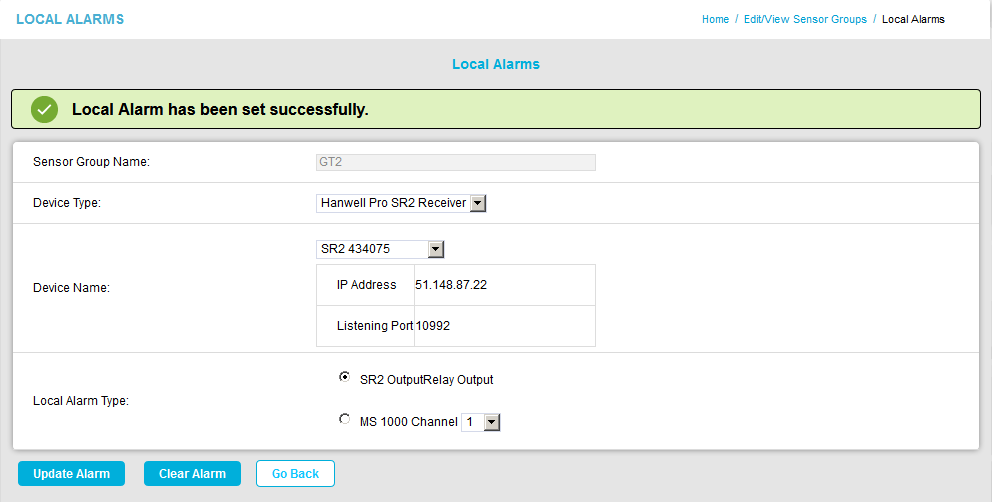
•Update Alarm and Clear Alarm buttons are displayed in the Local Alarms window.
6.Either:
i.Click on Update Alarm.
•A warning dialog is displayed:

ii.Click on Yes to update the Local Alarm.
•The following message is displayed in the Local Alarms window:
![]()
Click on No to cancel the update.
Or:
i.Click on Clear Alarm to clear the selected Local Alarm.
•A warning dialog is displayed:

ii.Click on Yes to clear the Local Alarm.
•You are returned to the 'blank' Local Alarms window.
Click on No to cancel clearing the Local Alarm.
Or:
Click on Go Back to return to the Edit/View Sensor Groups window.