Navigation:
System Configuration Admin > Sensor Groups > Managing Sensor Groups >> Creating a Sensor Group
Creating a Sensor Group

Contents
1.Either:
Click on the Add a Sensor Group button at the bottom of the Edit/View Sensor Groups window.
Or:
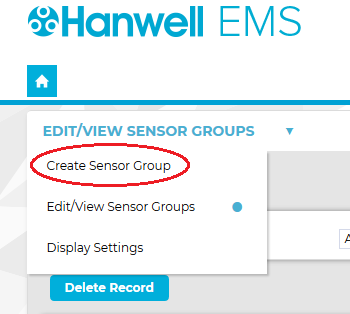
From the EDIT/VIEW SENSOR GROUPS drop-down menu, select Create Sensor Group. See Figure 481 below:
Figure 481
•The Create Sensor Group window is displayed. See Figure 482 below:
Figure 482

2.Enter a name for the Group in the Group Name: field. See Figure 482 above.
3.Click on [Add Member] in the Site Members pane. See Figure 482 above.
•The Select Sensors window is displayed. See Figure 483 below:
Figure 483

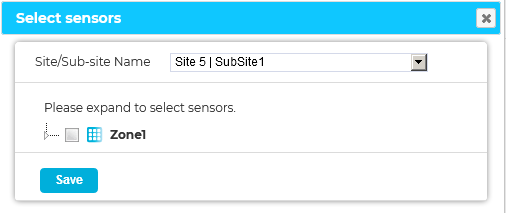
4.Select the required Site or Sub-Site from the Site/Sub-Site Name drop-down list.
•The Zones associated with the selected Site or Sub-Site are displayed. See Figure 484 below:
Figure 484
i.Click on the small arrow to the left of the Zone's name that contains the Sensors that you wish to add to the Sensor Group. See Figure 485 below.
•The selected Zone's Sensor list is expanded. See Figure 485 below:
Figure 485

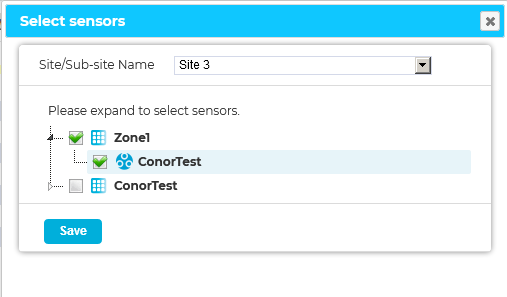
ii.Tick the checkbox(s) next to the Zone's Sensor(s) that you wish to add to the Sensor Group. See Figure 486 below:
Figure 486
Or:
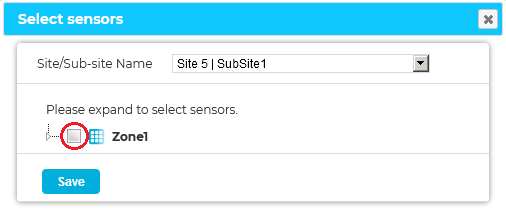
Tick the Zone Name checkbox at the top of the list to select all Sensors, associated with all Zones, for the selected Site. See Figure 487 below:
Figure 487
6.Once you are happy with your selections click on Save.
•The Create Sensor Group window is displayed with the new Sensor Group's details entered.
The new Group's Site Member(s) are shown in the Site Members pane. See Figure 488 below:
Figure 488
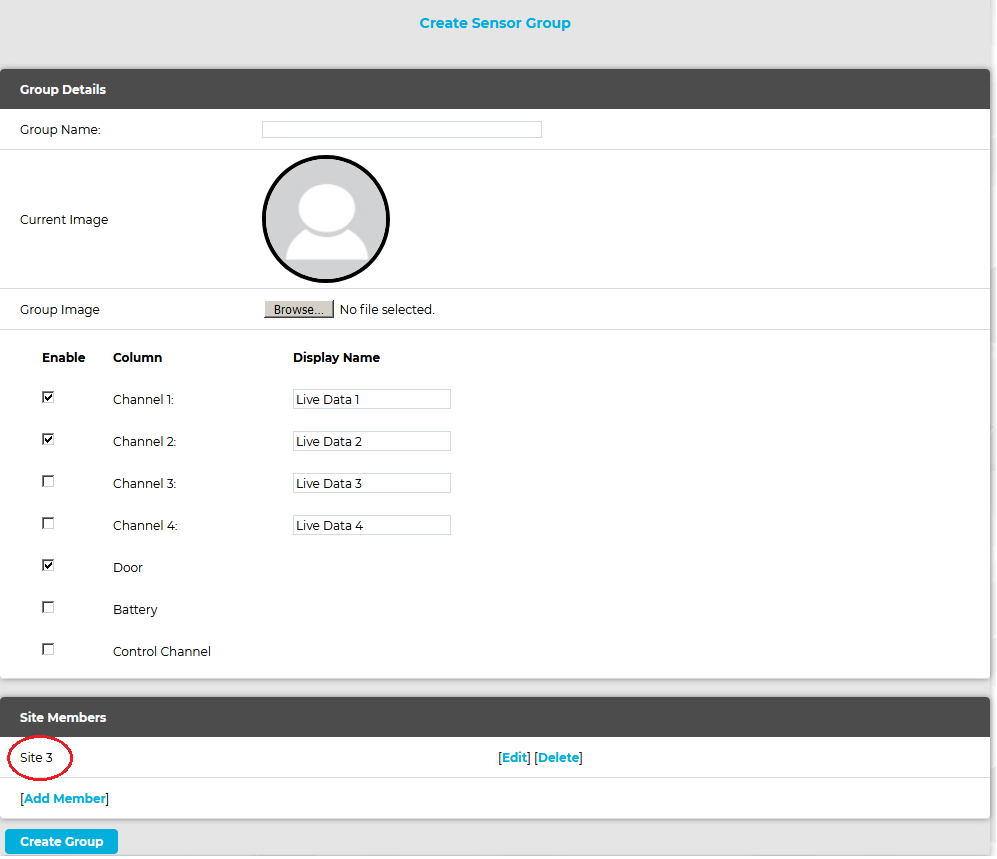
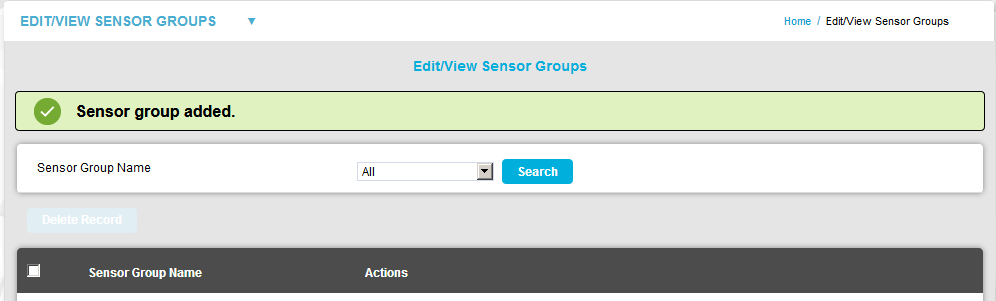
7.Click on Create Group.
•The Edit/View Sensor Groups window is displayed, with the new Sensor Group's name added to the Sensor Group Name column and a green message dialog displayed. See Figure 489 below:
Figure 489
| Note: | The new Sensor Group is not actually created in the database until the Create Group button is clicked. Prior to this, changes only occur in the browser. |