
Contents
To Delete Zones
1.Click on the Sites radio button.
2.Either:
Click on the View Data icon on the relevant Site's Dashboard icon. See Figure 673 below:
Figure 673

Or:
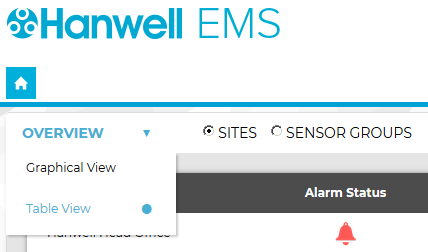
i.Select Table View from the OVERVIEW drop down menu. See Figure 674 below:
Figure 674
•The Sites Table View window is displayed. See Figure 675 below:
Figure 675
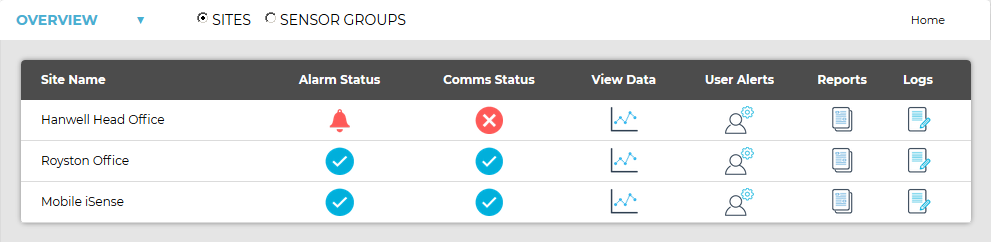
ii.On the Sites Table View window, click on the View Data icon associated with the Site you wish to view the Zones for. See Figure 676 below:
Figure 676

•In both cases, a Live View window for the selected Site is displayed, showing the Sensors associated with the first Zone listed. See Figure 677 below:
Figure 677

➢ To select another Zone, click here.
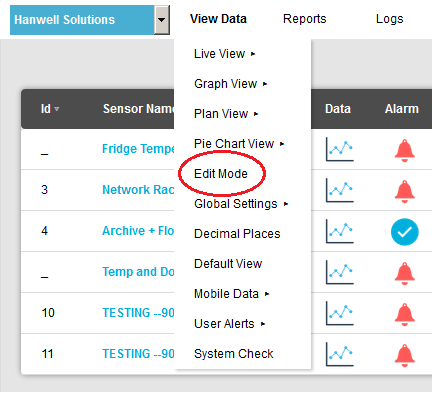
3.Select Edit Mode from the main View Data menu. See Figure 678 below:
Figure 678
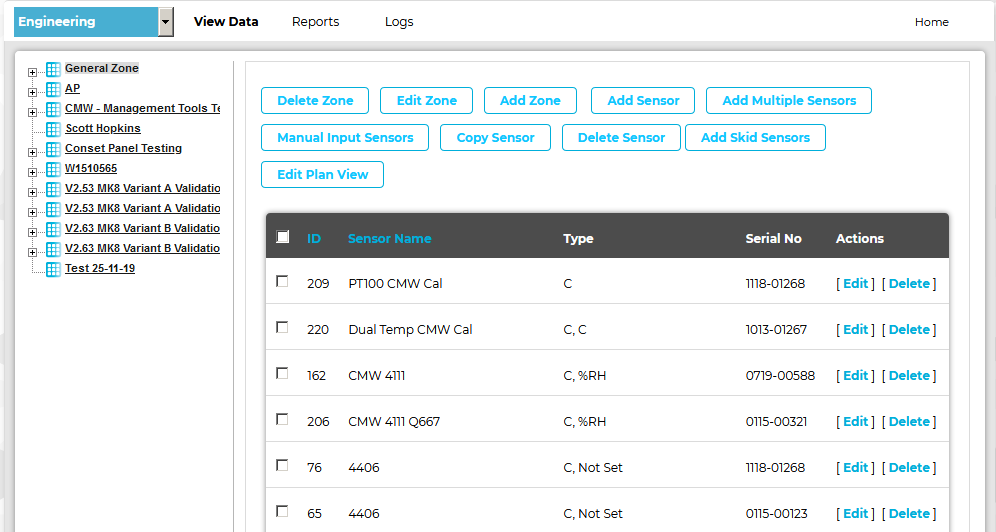
•The Edit Mode window is displayed. See Figure 682 below:
Figure 682
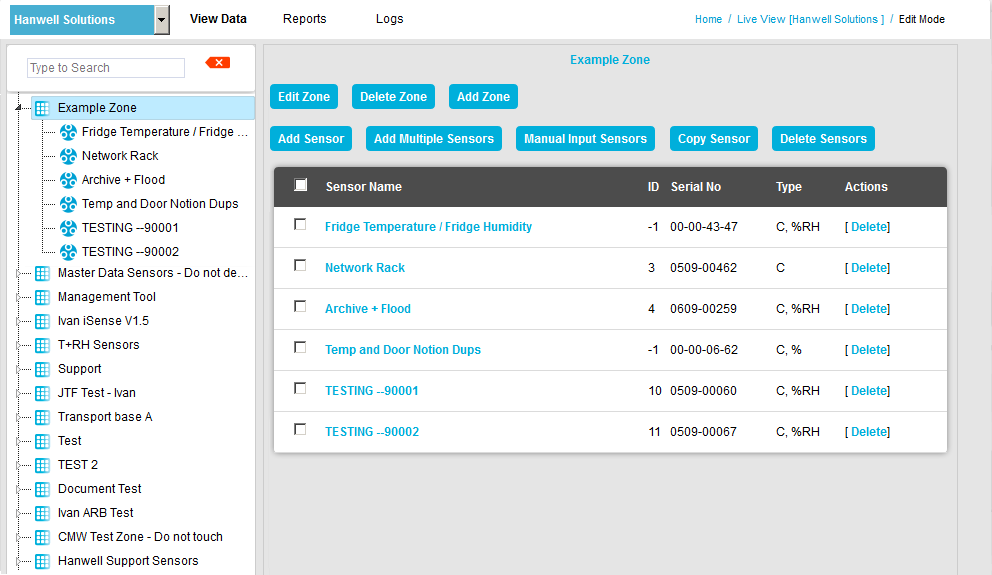
•By default, the Edit Mode window for the Zone at the top of the left-hand menu is displayed.
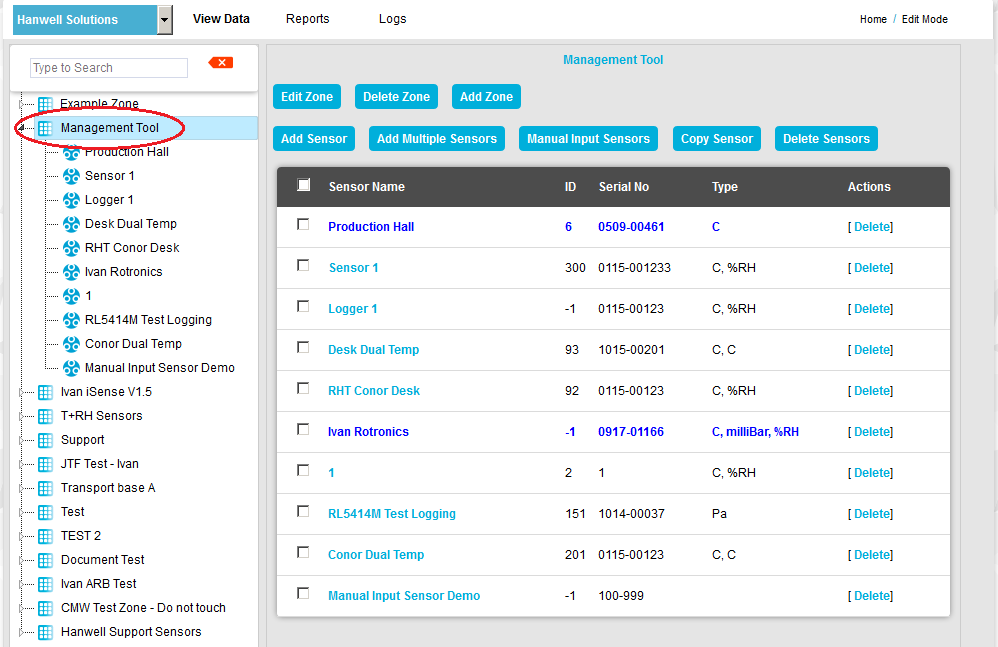
•To display another Zone's Editing and Configuration window, click on the entry for the required Zone in the left-hand menu. For an example. See Figure 683 below:
Figure 683
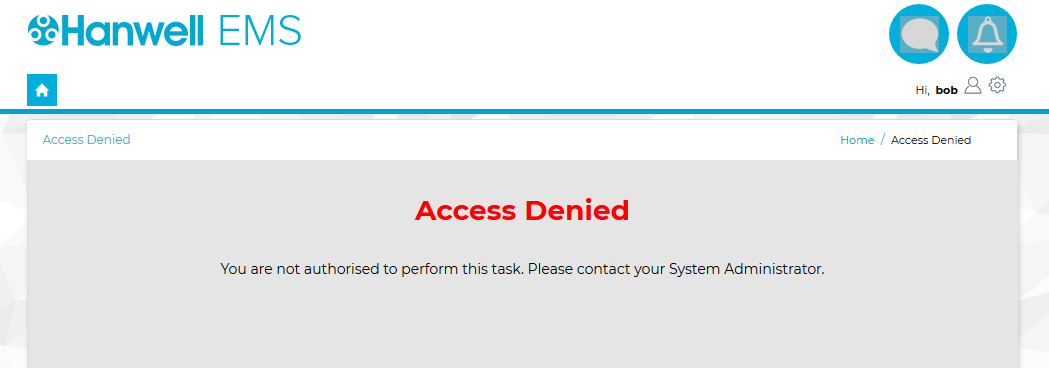
| Note: | Edit Mode is only available if you have the correct access Permissions. If you do not have the correct access Permissions, the following message window will be displayed. Figure 684 below: |
Figure 684
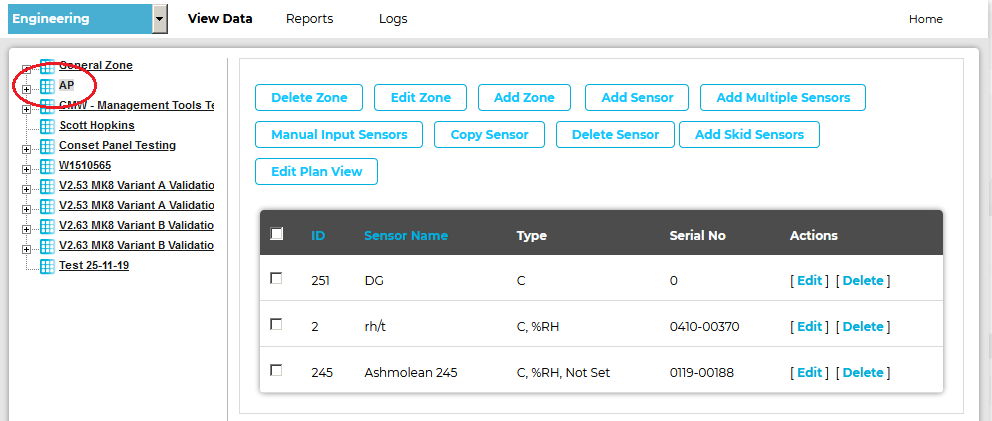
4.To Delete the selected/displayed Zone, click on the Delete Zone button.
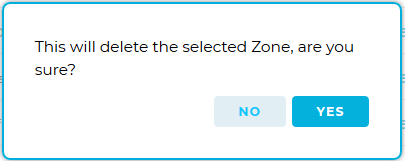
•A window is displayed asking you to confirm the Zone's deletion. See Figure 685 below:
Figure 685
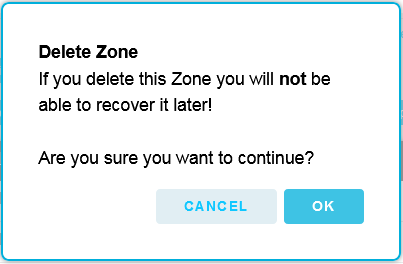
5.Click on OK.
•The Zone is deleted.
•Clicking on Cancel cancels the deletion.