
Contents
To Edit Zones
1.Click on the Sites radio button.
2.Either:
Click on the View Data icon on the relevant Site's Dashboard icon. See Figure 657 below:
Figure 657

Or:
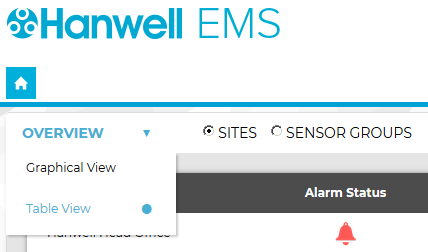
i.Select Table View from the OVERVIEW drop down menu. See Figure 658 below:
Figure 658
•The Sites Table View window is displayed. See Figure 659 below:
Figure 659
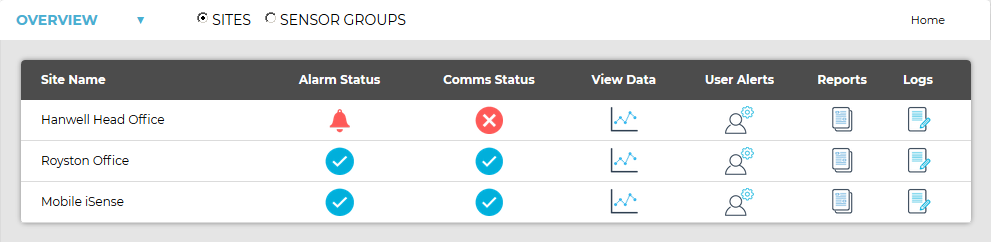
ii.On the Sites Table View window, click on the View Data icon associated with the Site you wish to view the Zones for. See Figure 660 below:
Figure 660

•In both cases, a Live View window for the selected Site is displayed, showing the Sensors associated with the first Zone listed. See Figure 661 below:
Figure 661

➢ To select another Zone, click here.
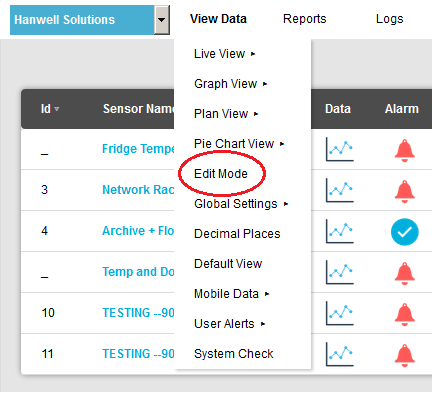
3.Select Edit Mode from the main View Data menu. See Figure 662 below:
Figure 662
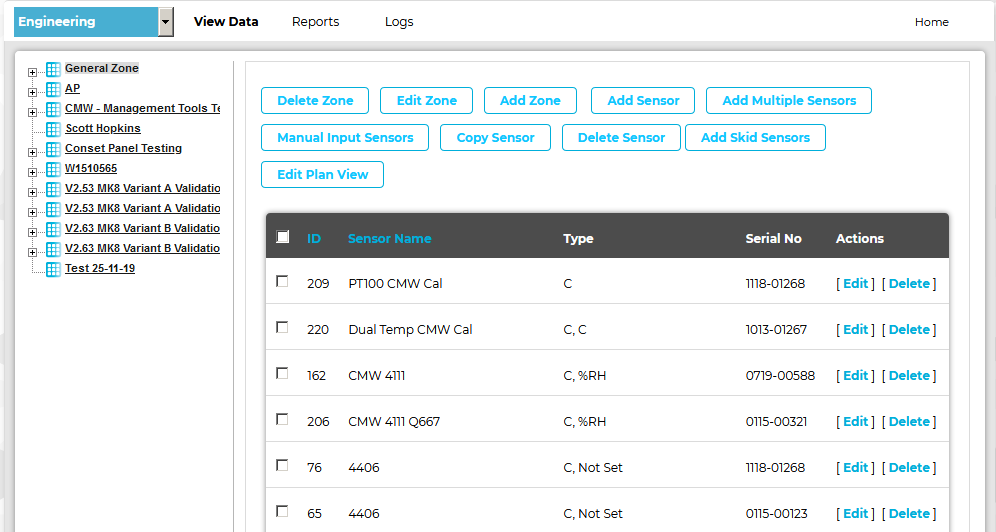
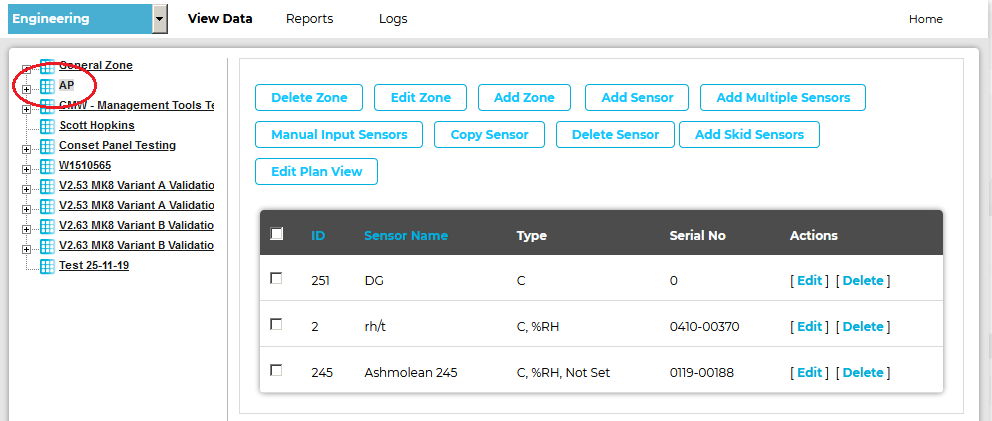
•The Edit Mode window is displayed. See Figure 663 below: Figure 663
•By default, the Editing and Configuration window for the Zone at the top of the left-hand menu is displayed. •To display another Zone's Editing and Configuration window, click on the entry for the required Zone in the left-hand menu. For an example, see Figure 664 below: Figure 664
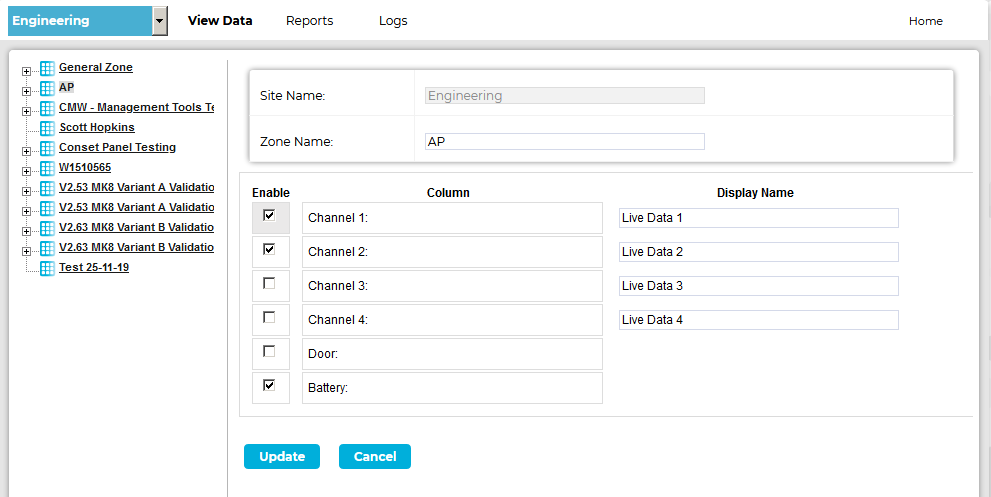
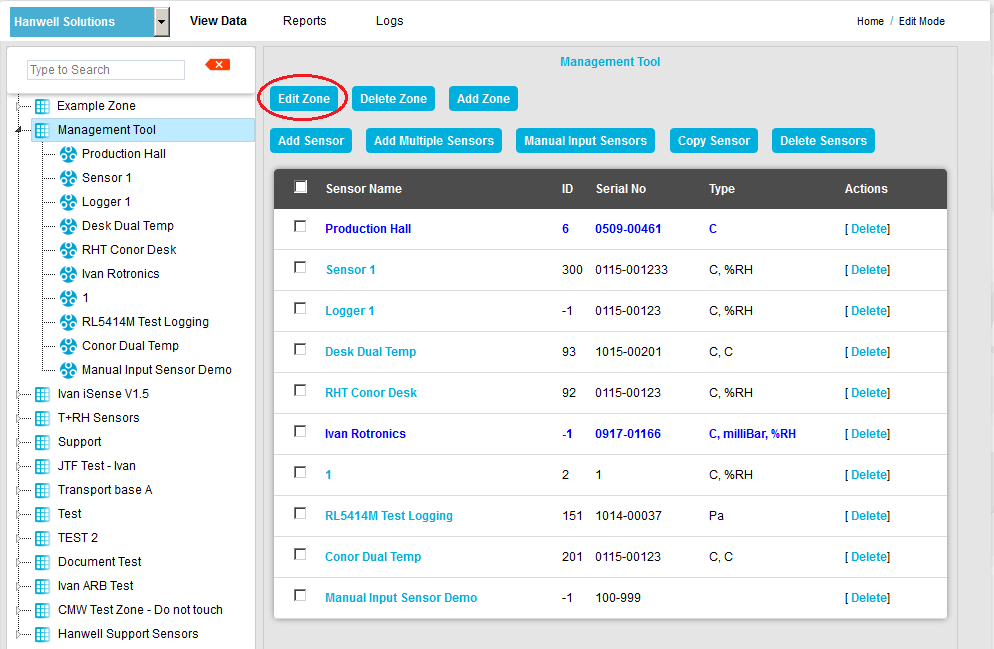
4.To Edit the Zone, click on the Edit Zone button to display the Edit Zone window. See Figure 665 below: Figure 665
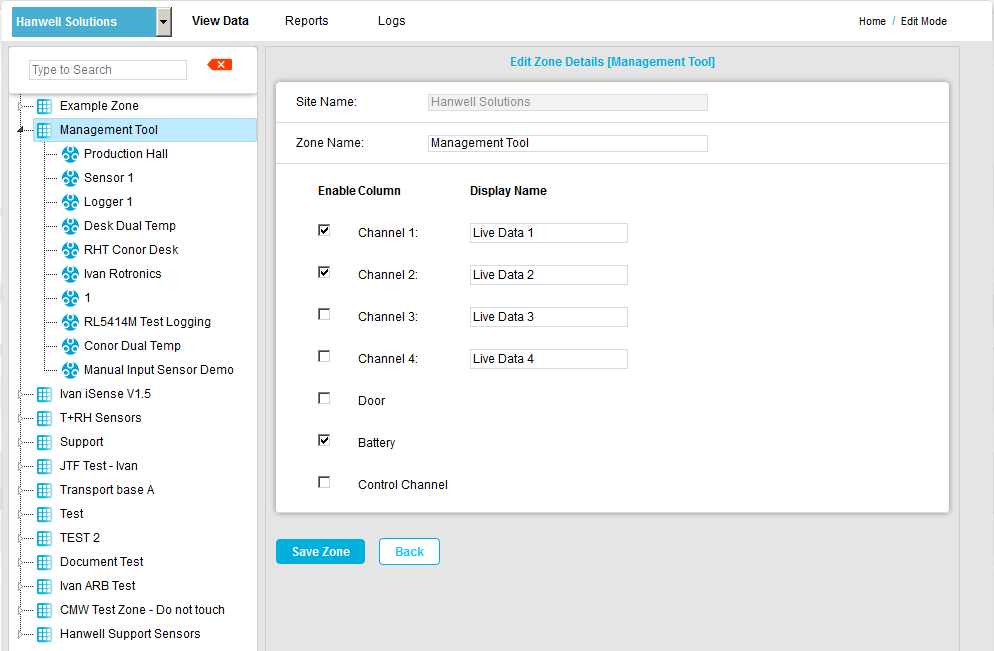
5.From the displayed window (Figure 666 below), you can edit (tick or untick to select or deselect): •The Zone's name. •Which channels are enabled for the Zone. •The Display Name for each enabled channel. •Whether the Battery Level Indicators are shown or not (Battery tick box).
Figure 666
Or: ➢Click on the Cancel button to cancel editing the Zone. •The selected Zone's details will be changed. |

•The Edit Mode window is displayed. See Figure 667 below:
Figure 667
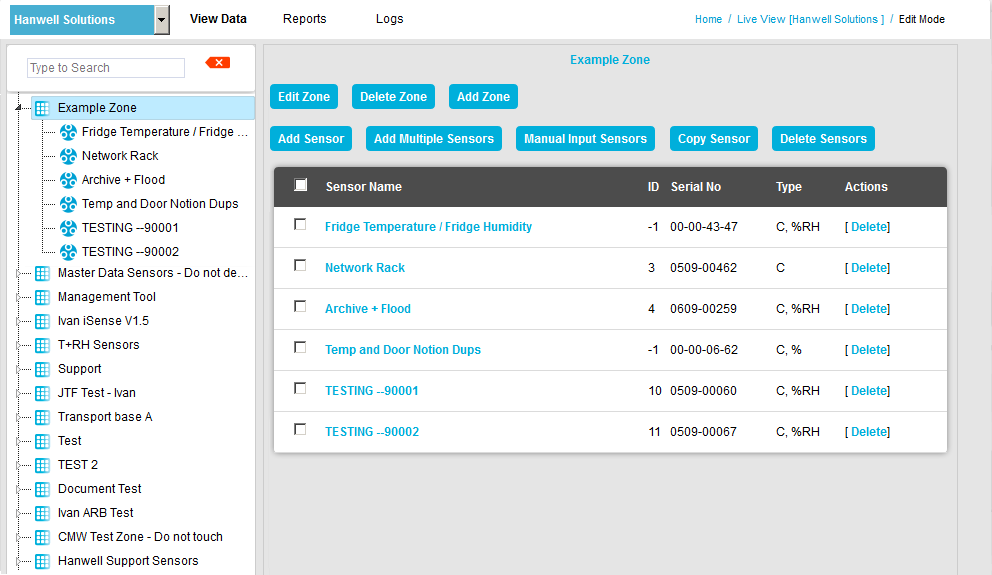
•By default, the Edit Mode window for the Zone at the top of the left-hand menu is displayed.
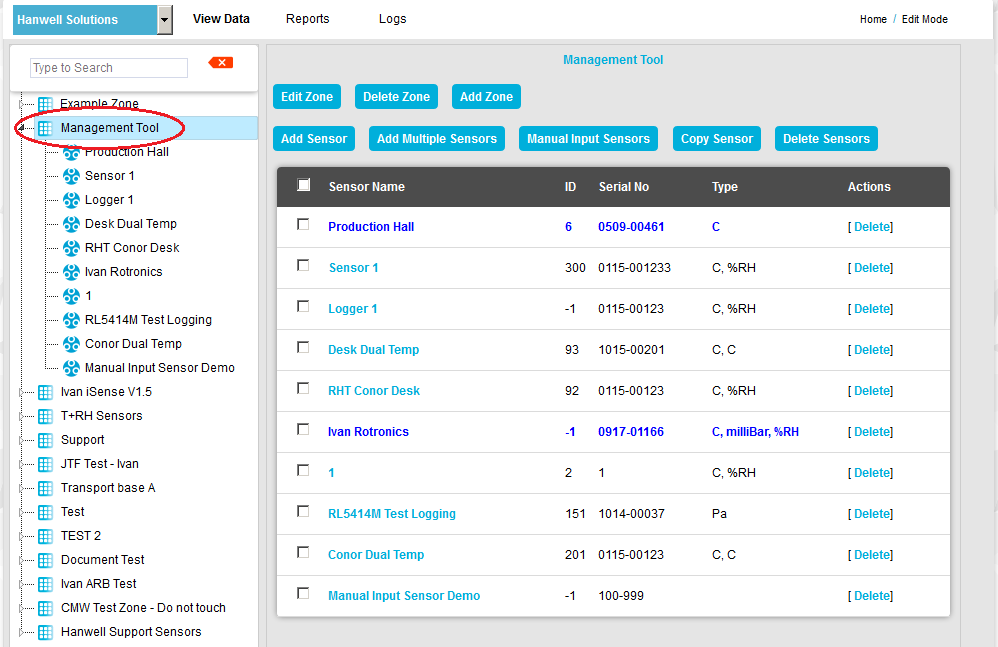
•To display another Zone's Edit Mode window, click on the entry for the required Zone in the left-hand menu. For an example, see Figure 668 below:
Figure 668
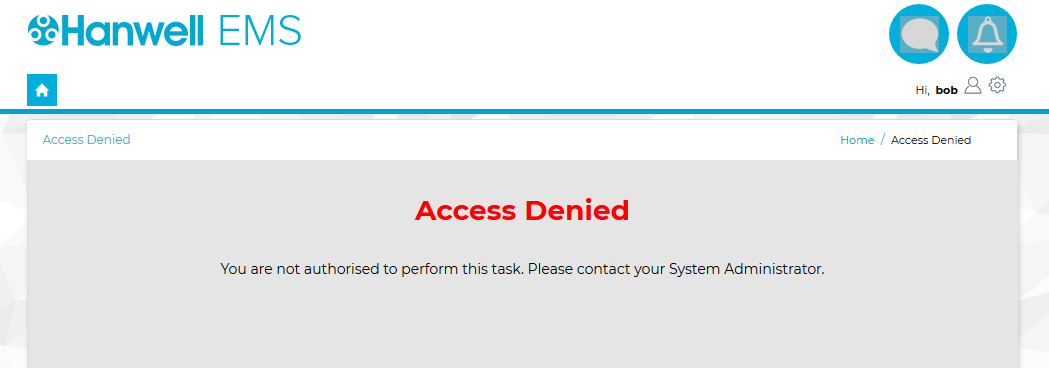
| Note: | Edit Mode is only available if you have the correct access Permissions. If you do not have the correct access Permissions the following message window will be displayed. Figure 669 below: |
Figure 669
4.To Edit the selected Zone, click on the Edit Zone button to display the Edit Zone window. See Figure 670 below.
Figure 670
5.From the displayed window (Figure 671 below), you can edit (tick or untick to select or deselect):
•The Zone's name.
•Which channels are enabled for the Zone.
•The Display Name for each enabled channel.
•Whether the Battery Level Indicators are shown or not (Battery tick box).
Figure 671
Or:
If a new Zone is being defined, click on the Save Zone button.
➢Click on the Back button to cancel editing the Zone.
•The selected Zone's details will be changed.
Conset Licencelicense
With a Conset Licencelicenseapplied and if the Control Channel box has been ticked in the Edit Sensor Group window, for a Sensor Group associated with the Zone, an additional, Control Channel, column will be shown on the right hand side of the Zone's Live View table. See Figure 672 below:
Figure 672
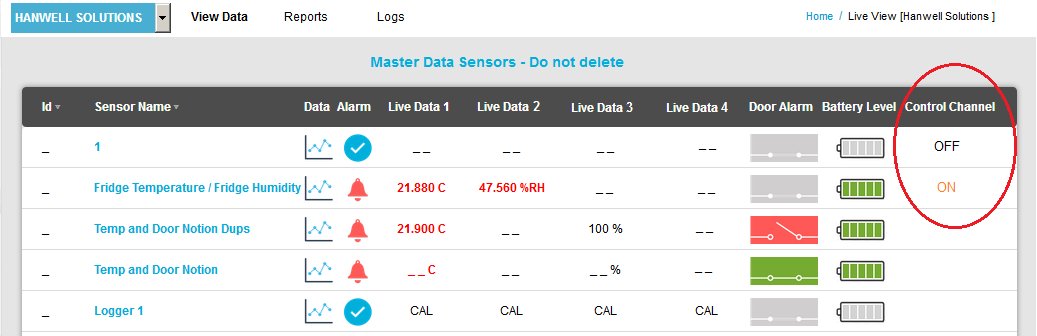
For each Sensor in a Group with Control Channel selected:
•If the Sensor has a Control Channel and a non-zero value is present on the Control Channel, the word 'ON' will be displayed in orange.
•If the Sensor has a Control Channel and a zero value is present on the Control Channel, the word 'OFF' will be displayed in black.
•If the Sensor has no Control Channel or there has been no value on the Control Channel within the configured elapsed time, the column will be blank.