
Contents
•New Database Configuration - EMS W900A
•New Database Configuration - EMS W900B
•Counter Signatures (W901 Only)
Follow this Section if this is a New Installation of EMS
After the EMS installation is completed and the Server has been rebooted, use the EMS Configuration Utility (EMSConfig) to create and initialise the EMS database.
| Note: | To run EMSConfig, the User must be an Administrator on the Local machine. Also, if configuring an EMS W900B install; either the User’s Windows login must map to a sys admin role on the SQL Server or the User must able to login to an SQL account with the sys admin role on the target SQL Server. |
1.To access the EMSConfiguration Utility, navigate to:
Windows Start menu > Ellab > EMSConfig
•If the host machine has User Account Control enabled then the User Account Control window will be displayed. See Figure 69 below:
Figure 69
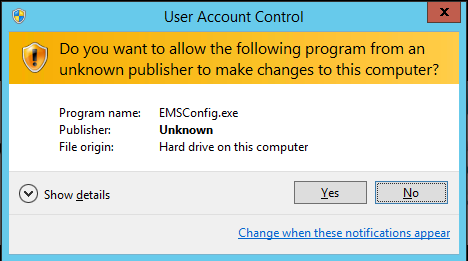
2. Click Yes.
•The EMS Services window is displayed, stating that services will be stopped while EMSConfig is running. See Figure 70 below:
Figure 70
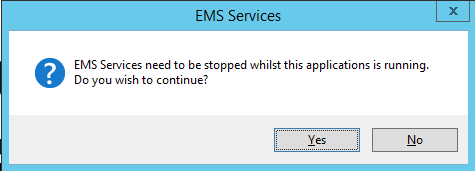
•If the host machine does not have User Account Control enabled, the User Account Control window will not appear and the procedure will go straight to the EMS Services window stating that services will be stopped while EMSConfig is running. See Figure 70 above.
3.Click Yes.
•Another message will be shown stating that it can take up to a minute for the active services to be stopped.
4.Click OK.
•The EMSConfiguration Ver: x.x.x.x window is displayed. See Figure 71 below:
Figure 71
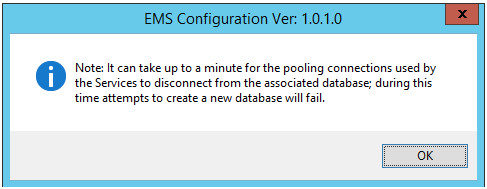
5.Click OK.
•The EMS Data Service window is displayed telling you NOT to attempt to start any of the EMS services whilst EMSConfig is running. See Figure 72 below:
Figure 72
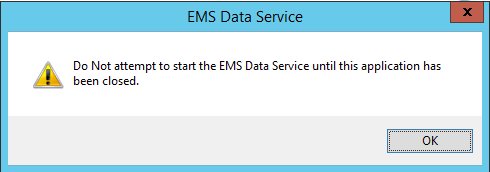
6. Click OK.
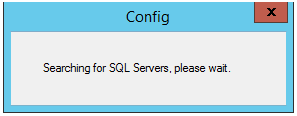
•A series of windows will be displayed as the EMSConfiguration Utility searches for SQL Servers; this may take some time. An example is shown in Figure 73 below.
Figure 73
| Note: | You may find that EMS services will be stopped during the period that the EMSConfiguration Utility is open. Do Not try to restart any services during this period; all services will restart themselves once the EMSConfiguration Utility is closed. |
WARNING EMS Database Collation is set to Latin1_General_CI_AS DO NOT Change This Setting. Database Collation provides sort, case, and accent rules for text operations on Database tables. Database Collation DOES NOT affect the ability of Users to enter local text characters in text fields. Users can use characters from their own local language with Latin1_General_CI_AS Collation set since they do not have direct access to SQL table columns and, therefore, Database Collation does not affect their ability to use EMS with local character sets. However, Database Collation DOES affect the results of queries run on the Database by the EMS software and changing the Database Collation WILL prevent correct operation of the EMS System. |
New Database Configuration - EMS W900A
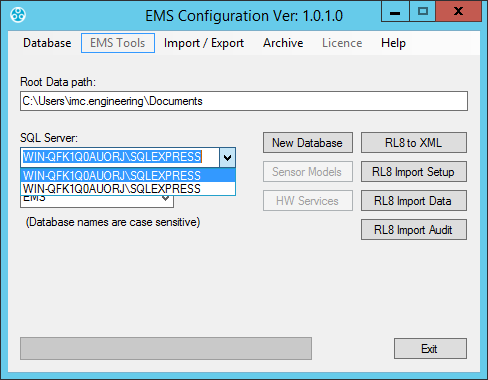
EMS W900A must use an SQL Server on the Local machine which should appear at the top of the SQL Server: drop-down list. See Figure 74 below:
Figure 74

| Note: | The Search button adjacent to the SQL Server: drop-down list can be used to search for SQL instances on the network, with a suitable database then being selected from the Database Name: drop-down list.However, the default selections displayed in the SQL Server: and Database Name: drop-down lists should be correct for such an install and the Customer should only have to click on Connect - See Figure 74 above. |
New Database Configuration - EMS W900B
EMS W900B can use an SQL Server on either the Local machine or another machine on the LAN.
| Note: | The existing Microsoft SQL Server must be a version from 2014 onwards. |
The SQL Search function will only work if SMO components have been installed as part of an SQL Server or SQL Server Manager Studio installation on the Local machine.
If SQL Servers are shown in the SQL Server: drop-down list, continue at SQL Servers Shown.
EMS W900B - No SQL Servers Shown
If no Servers are shown in the SQL Server: drop-down list. See Figure 74 above.
1.Select the Manual Connection menu item from the Database menu. See Figure 75 below:
Figure 75
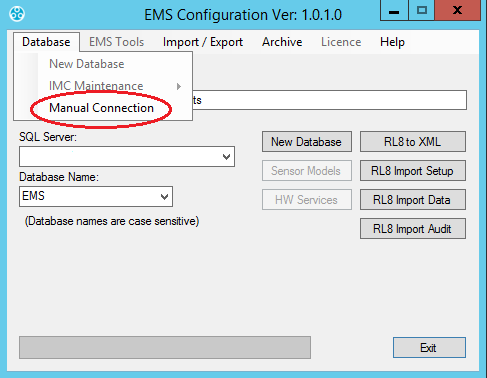
•This will display the Manual Connection dialog box. See Figure 76 below:
Figure 76
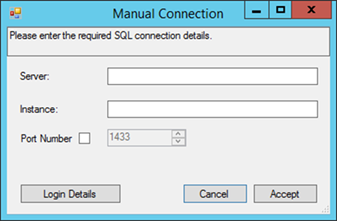
2.In the Manual Connection dialog, enter the required SQL Server machine name and, if required:
Either:
Enter an SQL Server Instance name into the Instance: field.
Or:
Tick the Port Number box and enter a Port Number, either directly or by advancing the displayed number up or down using the box’s arrows.
| Note: | The existing Microsoft SQL Server must be a version from 2012 onwards. |
3.Click Login Details to display the SQL Administrator Account dialog box. See Figure 77 below:
Figure 77
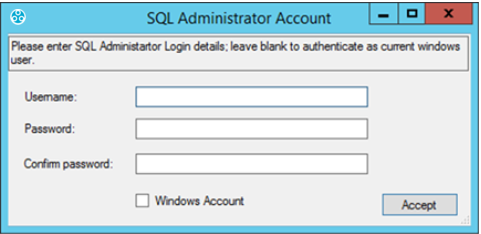
•Generally Windows Account should be selected to use a Windows integrated login. However, if necessary a SQL Username and Password can be entered in the appropriate text fields.
4.Click Accept to return to the Manual Connection dialog box.
5.Click Accept on the Manual Connection dialog box to continue.
•The Config Utility application will now test the SQL connection details.
•If the test is successful, Figure 78 below will be displayed:
Figure 78
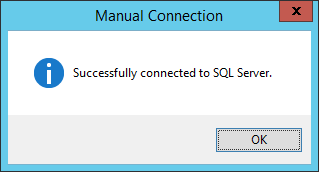
6.Click OK and continue at Creating a New Database below.
•If the test is unsuccessful, Figure 79 below will be displayed:
Figure 79

In this instance:
•Check your connection and login details and retry.
If you are sure that your connection and login details are correct and the process still fails:
•Check all associated Firewall settings.
•Check that the SQL Server is configured to accept remote connections.
•Check that a connection can be routed from the EMS Server to the SQL Server.
If you are unsure how to do this, ask your System Administrator or IT support provider for assistance.
Please DO NOT ask Hanwell for assistance until you have established that an SQL connection can be made from the EMS Server to the SQL Server.
•If the required SQL Servers are shown, select the required SQL Server instance from the drop-down list. See Figure 80 below:
Figure 80
| Note: | The existing Microsoft SQL Server must be a version from 2014 onwards. |
•If the required SQL Server is not shown, check Firewall settings on the local and SQL Server machines and make sure that the SQL Server Browser service is running on the SQL Server.
W900B Remote SQL Server
If connecting to an SQL Server on another machine on the LAN, the SQL Administrator Account login dialog box may appear. See Figure 81 below:
Figure 81
•If the Users Windows login maps to a Sys Admin role on the SQL Server:
i.Leave the Username: and Password: boxes blank.
ii.Select the Windows Login checkbox.
iii.Click Accept to continue.
•If the Users Windows login DOES NOT map to a Sys Admin role on the SQL Server:
i.Enter the Username and Password for the required SQL Sys Admin account.
ii.Make sure the Windows Login checkbox is de-selected.
iii.Click Accept to continue.
1.Click New Database on the main dialog box. Figure 80 above.
•The Company Details window is displayed. See Figure 82 below:
Figure 82
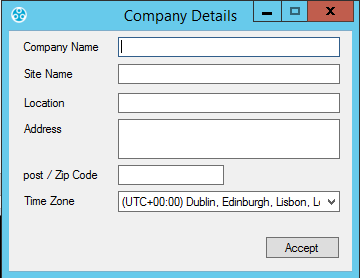
2.Complete the Company Details form, including selecting the Time Zone of the Site.
•The default value displayed will be the Time Zone used by the host PC.
•It is important that the Time Zone is set correctly, as dates in the database are stored using GMT.
| Note: | Users entering Company data into this window should adhere to local data protection requirements and regulations. |
5.Click Accept.
•The Hanwell Listen Port window is displayed. See Figure 83 below:
Figure 83
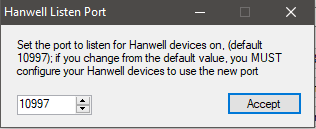
6.The Port Number of the port used to listen for Hanwell Control Devices - Selsium Receivers, Hanwell ARB Modules and Hanwell SMS Modules needs to be entered; the Default Port Number is 10997.
If the default Port Number is unavailable, enter the required Port Number, remembering that you must configure all Hanwell base type Control Devices to use the Port Number set here.
7.Click Accept.
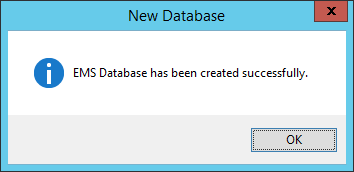
•If the EMS database has been created successfully, the New Database window will be displayed. See Figure 84 below:
Figure 84
8.In the EMSConfiguration Ver x.x.x.x window, click on the Sensor Models button.
•This will import the entire range of Hanwell Sensor types into the Database.
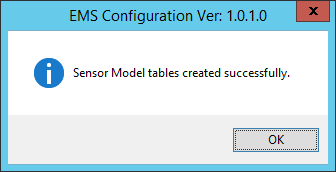
Once this process is complete, the message shown below in Figure 85 will be displayed stating that the Sensor Model tables have been created successfully.
Figure 85
9.In the EMS Configuration Ver x.x.x.x window, click on the HW Services button. See Figure 86 below:
Figure 86

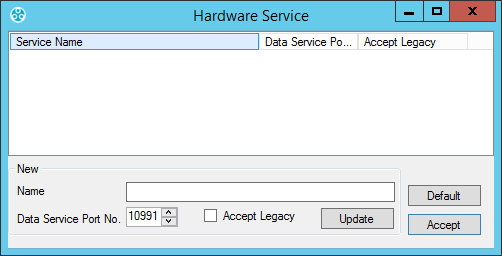
•The Hardware Service window is displayed. See Figure 87 below:
Figure 87
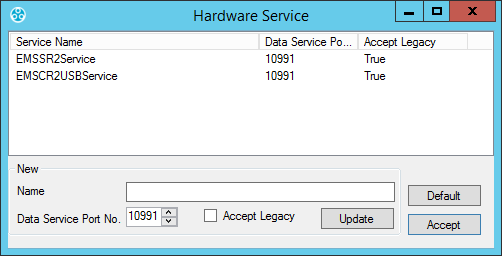
10.Click Default and two Hardware Services will be selected, as in Figure 88 below:
Figure 88
11.Click Accept.
•This will import the Hardware Services to the database, allowing for certain types of hardware to be functional within EMS.
•The Hardware Services window will close after the import has taken place.
12.Select Reports Folder from the EMS Tools menu entry in the EMSConfiguration Ver x.x.x.x window. See Figure 89 below:
Figure 89
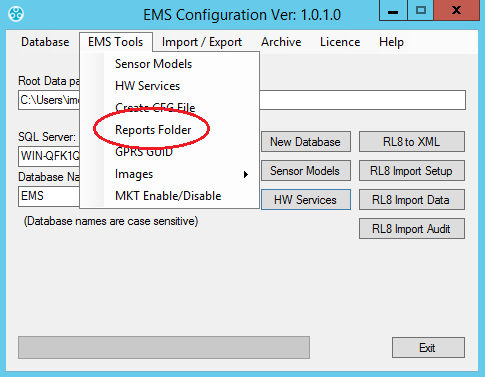
•The Reports Folder window is displayed stating that the permissions will need to be changed (automatically) to enable the services to write to this location. See Figure 90 below.
•The Reports Folder is where EMS stores copies of the Scheduled Reports which EMS Users can set up and run.
Figure 90
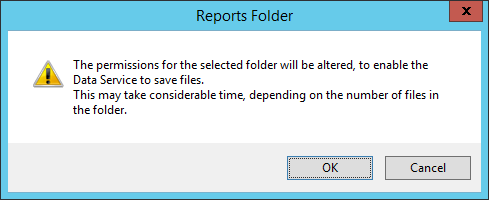
13.Click OK.
14.The next step in the procedure is to decide on a location that generated reports will be saved on the host network.
Either:
Select an existing location from the list displayed in the displayed Browse For Folder window. See Figure 91 below:
Figure 91
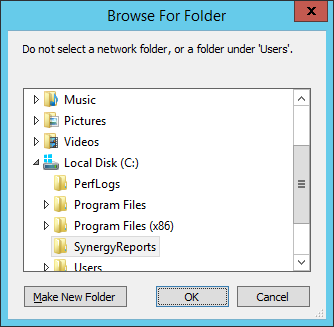
Or:
i.Select a location from the list displayed in the Browse For Folder window.
ii.Click on the Make New Folder button to create a new folder.
iii.Enter a name for the new folder in the highlighted box.
15.Once the location has been decided and selected, click OK.
Counter Signatures (W901 Only)
With W906 Validated EMS installed, and a W901 Licencelicenseapplied to it, Counter Signature functionality is DISABLED by default on your System.
To ENABLE Counter Signatures, use the EMSConfig Utility as follows:
1.Open the EMSConfiguration Tool as outlined in Pre-Configuration Operations.
•The EMSConfiguration Ver: X.X.X.X window is displayed.
2.From the EMS Tools drop-down menu, select W901 Counter Signatures. See Figure 92 below:
Figure 92
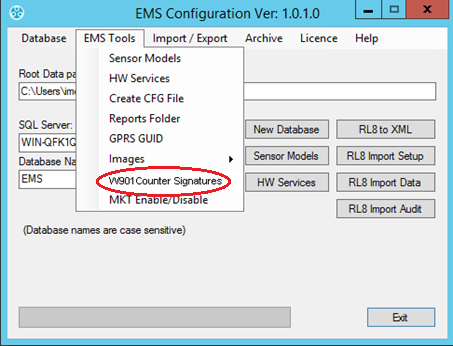
•To DISABLE Counter Signatures again, follow the same steps.