
Contents
| Note: | Marquee View is only available from EMS Version 1.0.9 onwards. |
Description
Marquee View enables an automatically scrolling display of selected Site's Zones and Sensors and selected Sensor Groups.
When Marquee View is Selected:
•The view scrolls right to left to display, in sequence, all of a selected Site(s) selected Zone(s) and then scrolls down when each Site's Zone is displayed to display all of its Sensors.
•The view scrolls right to left to display, in sequence, all selected Sensor Group(s) and then scrolls down when each Group(s) is displayed to display all of its Sensors.
Both Sites/Zones and Groups can be displayed together as part of the Marquee View sequence, with Sites/Zones displayed first, followed by Sensor Groups.
| Note: | The display of Sites or Sensor Groups is independent of whether Sites or Sensor Groups are selected (via radio buttons) on the Dashboard. |
•Accessing Marquee View Settings
•Selecting Sites and Zones to Display in Marquee View
➢Selecting Sites and Zones to Display in Marquee View
➢Selecting Sensor Groups to Display in Marquee View
Accessing Marquee View Settings
To access Marquee View settings:
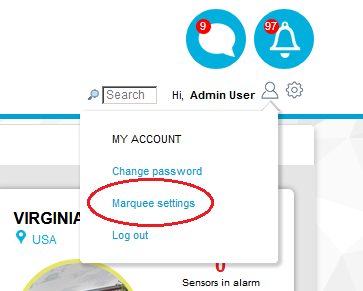
1.Select Marquee settings in the User/MY ACCOUNT drop-down menu at the top of the screen. See Figure 1098 below:
Figure 1098
•The MARQUEE SETTINGS window is displayed. See Figure 1099 below:
Figure 1099

2.Tick the Enable marquee box. See Figure 1099 above.
•The Marquee View settings panel is displayed. See Figure 1100 below:
Figure 1100
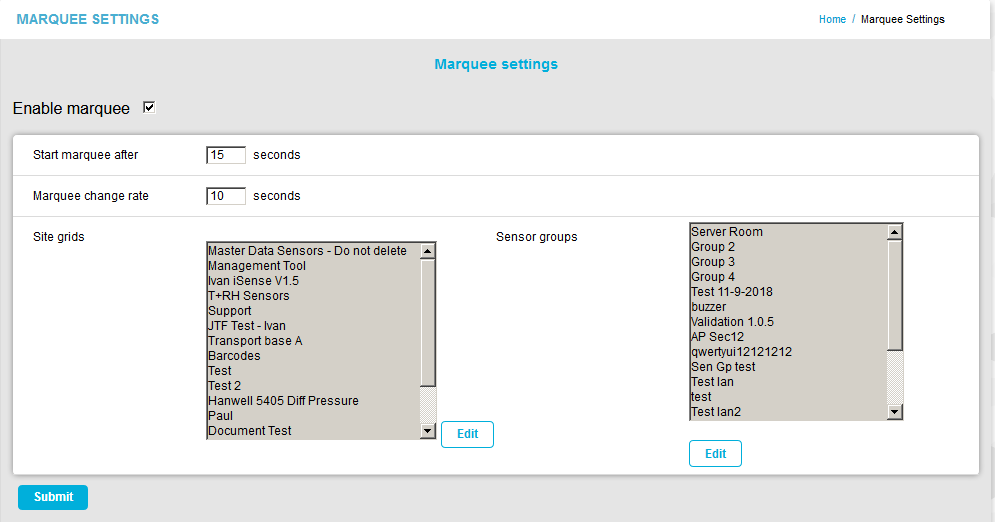
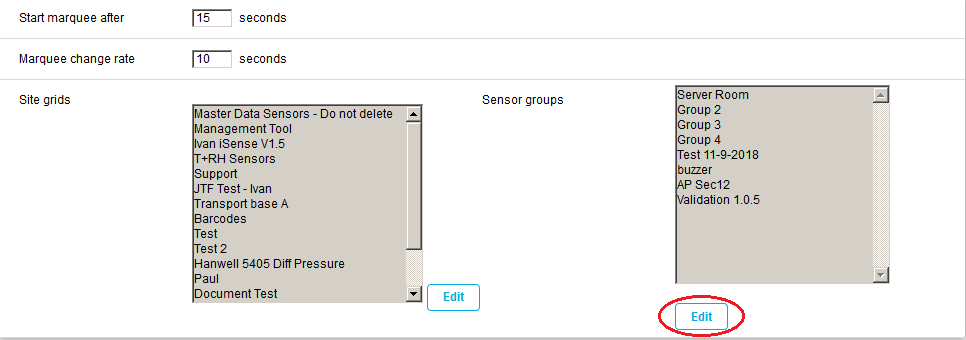
From this panel, you can:
•Define the length of (in seconds) before Marquee View commences, by entering a value into the Start marquee after field.
•Define the length of time each window is displayed in the Marquee View before moving onto the next window, by entering a value into the Marquee change rate field.
•Select which Sites and associated Zones are displayed in Marquee View.
•Select which Sensor Groups are displayed in Marquee View.
Selecting Sites and Zones to Display in Marquee View
Selecting Sites and Zones to Display
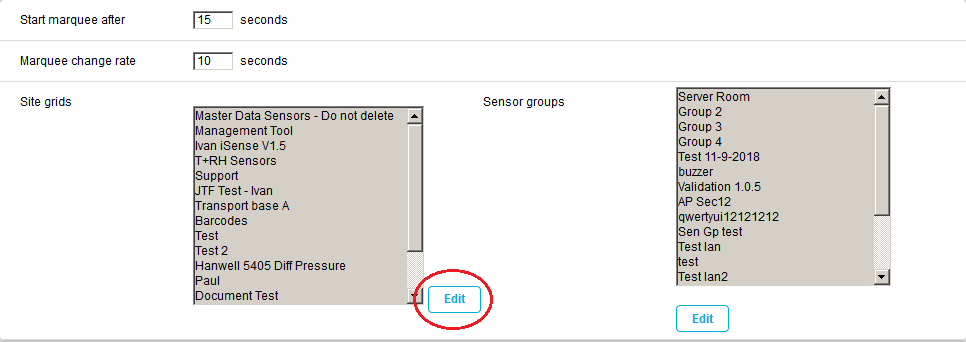
1.Click on Edit adjacent to the Site grids scrolling list field. See Figure 1101 below:
Figure 1101
•The Select grids window is displayed, initially showing a list of Sites. See Figure 1102 below:
Figure 1102
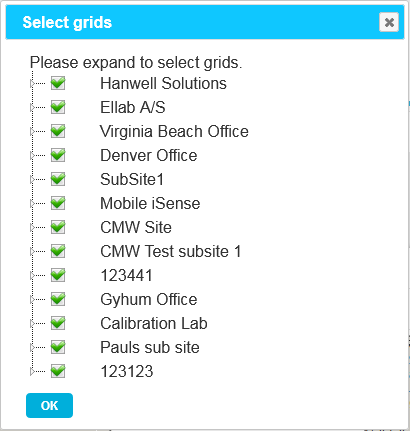
| Note: | When Marquee View is selected for the first time, all Sites will be selected/ticked. |
2.Tick/Untick the boxes adjacent to the Sites to select/deselect them for display in Marquee View.
3.Click on the small arrow to the left of a Site's entry to expand/display its list of Zones. See Figure 1103 below:
Figure 1103
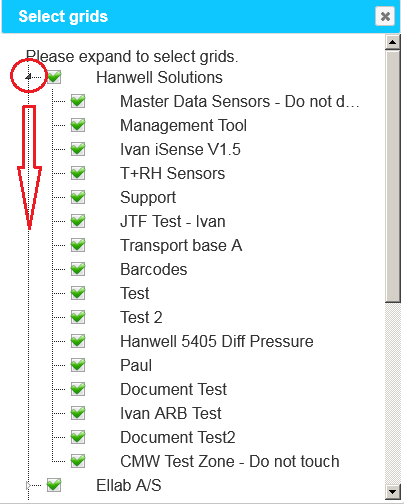
•If the selected Site was selected by ticking its adjacent box, all Zones in the expanded/displayed list will be ticked/selected.
4.In the displayed list, untick any Zones that you do not wish to display in Marquee View.
•If the selected Site was not selected by ticking its adjacent box, no Zones in the expanded/displayed list will be ticked/selected.
•Tick any Zones that you wish to display.
➢The Site's box will automatically be ticked to select it when the first Zone is selected.
5.When all required Sites and Zone have been selected, click on OK at the bottom of the Select grids window.
•The Site grids scrolling list field is populated with the selected Sites and Zones.
6.If you are happy for the Sensor Groups displayed in the Sensor groups scrolling list field to be displayed in the Marquee View, click on Submit to start the Marquee View sequence with the defined timings.
•The MARQUEE SETTINGS window is displayed with a green message dialog confirming that the Marquee settings have been saved. See Figure 1104 below:
Figure 1104

•If you wish to select/deselect Sensor Groups to include/remove them from the Marquee View, continue below.
Selecting Sensor Groups to Display in Marquee View
1.Click on Edit adjacent to the Site groups scrolling list field. See Figure 1105 below:
Figure 1105
•The Select Sensor groups window is displayed, showing a list of all Sensor Groups. See Figure 1106 below:
Figure 1106

| Note: | When Marquee View is selected for the first time, all Sensor Groups will be selected/ticked. |
2.Tick/Untick the boxes adjacent to the Sensor Groups to select/deselect them for display in Marquee View.
3.When all required Sensor Groups have been selected, click on OK at the bottom of the Select Sensor groups window.
•The Sensor groups scrolling list field is populated with the selected Sensor Groups.
4.Click on Submit to start the Marquee View sequence with the defined timings.
•The MARQUEE SETTINGS window is displayed with a green message dialog confirming that the Marquee settings have been saved. See Figure 1107 below:
Figure 1107
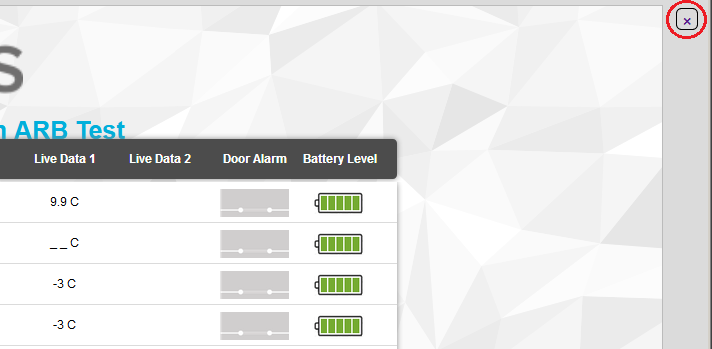
1.Click on the x button in the top right-hand corner of the Marquee View window. See Figure 1108 below:
Figure 1108
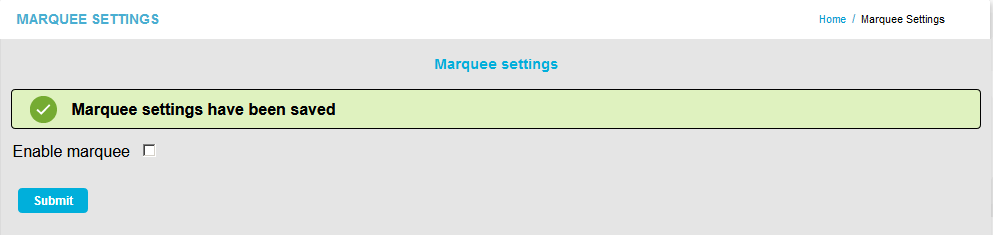
•The Marquee settings panel is displayed. See Figure 1109 below:
Figure 1109
2.Untick the Enable marquee box.
•The Marque settings window is displayed without the Settings panels displayed. See Figure 1110 below:
Figure 1110
3.Click on Submit.
•The MARQUEE SETTINGS window is displayed with a green message dialog confirming that the Marquee settings have been saved. See Figure 1111 below:
•Marquee View is stopped.