Navigation:
System Configuration Admin > System Configuration - Automated Alarm Functions >> SMS Power and Comms Group
SMS Power and Comms Group

Contents
•Creating the SMS Power & Comms Group
•To Add or Remove Contacts to or from the SMS Power & Comms Group
•To Delete the SMS Power & Comms Group
Introduction
The Hanwell SMS Unit must have at least one phone number in an SMS Power and Comms Group to contact, in the event of a power or communications failure event, before it will operate.
Each User (up to a maximum of 10 Users) added to the SMS Power and Comms Group, in EMS or Legacy applications, will receive continual text message warnings stating:
‘SMS Unit communications fail code=06’ or ‘SMS Unit communications power fail code=06’
following a LAN/Communications or Power failure.
•To stop receiving Power and Comms text message warnings, a User should reply with the code 06.
| Note: | The reply text message to the SMS unit must contain the exact code. In this example, it must include the 0, sending only 6 would not stop the SMS Module sending the text message warnings. |
To Create the SMS Power & Comms Group
•Once created, you can use the same process to edit the existing SMS Power & Comms Group.
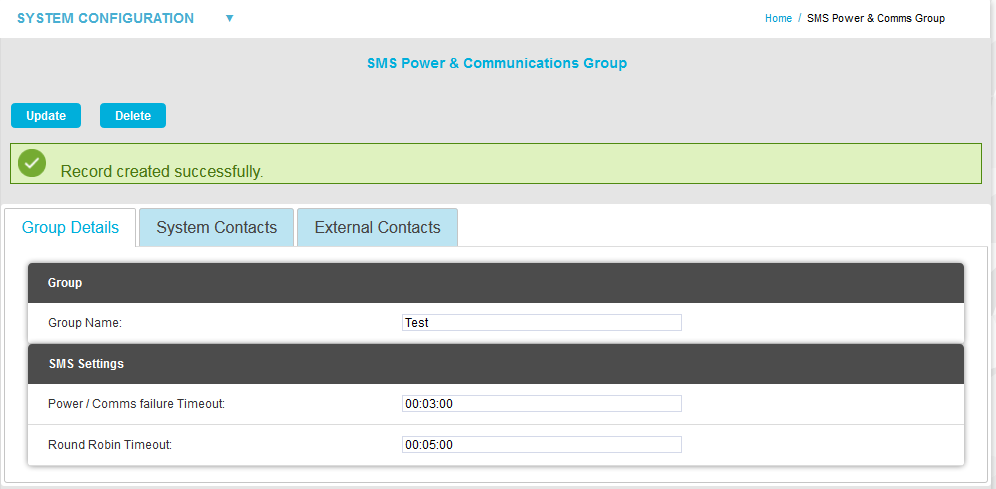
1.Select SMS Power & Comms Group from the SYSTEM CONFIGURATION drop-down list to display the SMS Power & Communications Group window. See Figure 459 below:
Figure 459
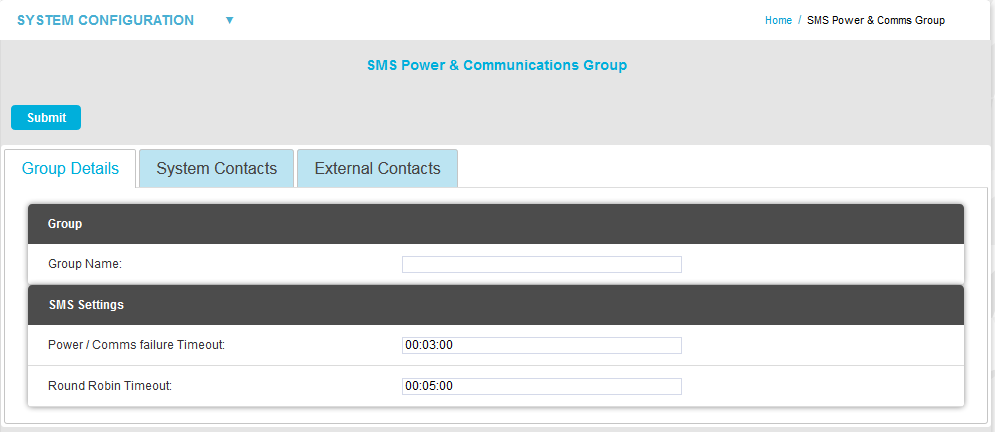
| Note 1: | The Group Details tab is shown by default. |
| Note 2: | If no Email System Group has been previously added, a Submit button will be displayed at the top of the window, rather than Update and Delete buttons and the Group Name: and Email Subject: fields and System Events tick boxes will be blank. |
2.In the Group Details tab:
Either:
Enter a name for the SMS Power and Comms Group in the Group Name: dialog box.
Or:
Edit the existing name for the SMS Power and Comms Group in the Group Name: dialog box.
Either:
Enter time periods for the Power/Comms Failure Timeout and Round Robin Timeout in the format: HH:MM:SS into their respective fields in the SMS Settings section of the window.
Or:
Edit the displayed time periods for the Power/Comms Failure Timeout and Round Robin Timeout, maintaining the format: HH:MM:SS, in their respective fields in the SMS Settings section of the window.
| Note 1: | It can take 1 to 2 minutes for a power or communications event to be detected by the SMS Unit. |
| Note 2: | Do not set a Round Robin Timeout time of either less than a minute or such that it would take more than 24hours – the SMS Unit’s battery life – to send the required SMS messages. |
3.Click on the System Contacts tab.
If an SMS Power and Comms Group has been previously added:
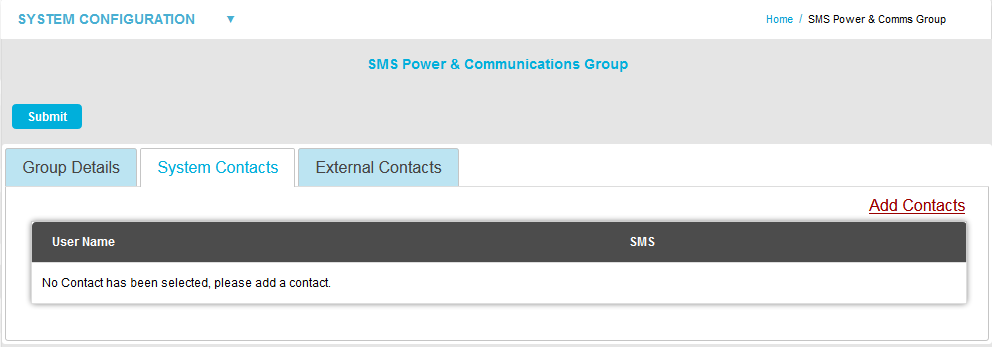
•A table of User Names and SMS numbers is displayed, with either an Edit Contacts link (if an SMS Power and Comms Group has been previously added) or an Add Contacts link. See Figure 460 below:
Figure 460
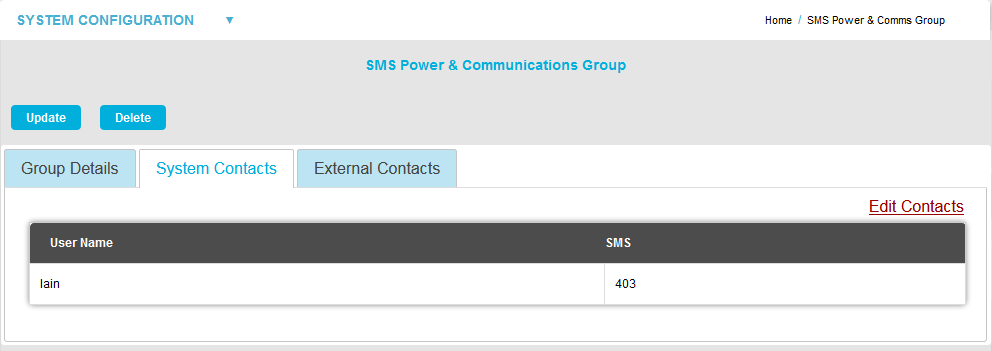
➢Clicking on the Edit Contacts link enables the addition or removal of System Contacts as outlined in the Section below.
➢Clicking on the Add Contacts link enables the addition of System Contacts as outlined in the Section below.
4.Click on the External Contacts tab.
•A table of External Contacts is displayed, with either an Edit Contacts link or Add Contacts link. See Figure 461 below:. See Figure 461 below:
Figure 461
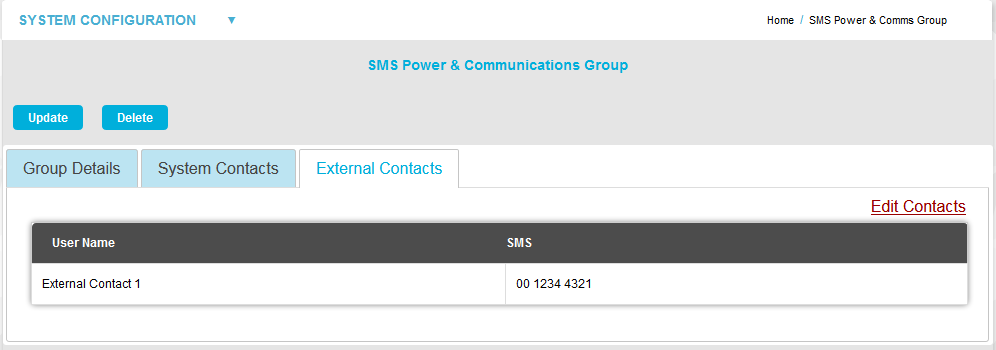
➢Clicking on the Edit Contacts link enables the addition or removal of External Contacts as outlined in the Section below.
➢Clicking on the Add Contacts link enables the addition of External Contacts as outlined in the Section below.
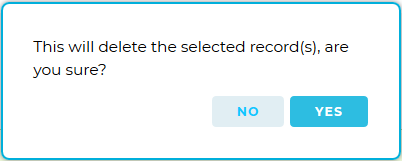
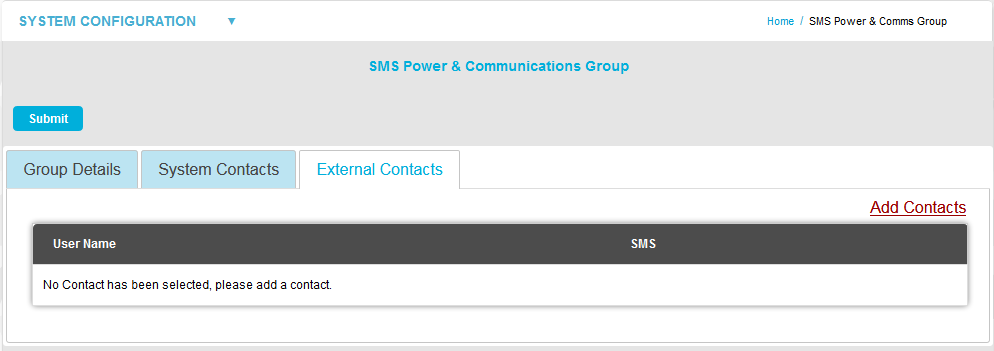
| Note: | If no SMS Power and Comms Group has been previously added, clicking on Submit before adding System Contacts or External Contacts will display the following warning dialog: |
To Add or Remove Contacts to or from the SMS Power & Comms Group
1.Click on either the System Contacts or External Contacts tab on the SMS Power & Communications Group window to display either the System Contacts or External Contacts pane of the SMS Power & Communications Group window respectively. See Figures 460 and 461 above.
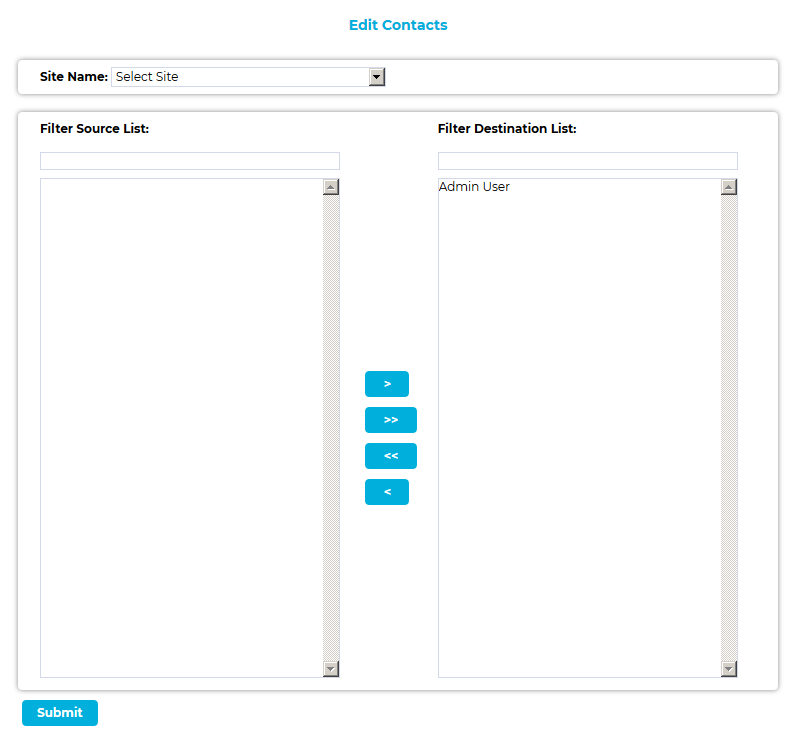
2.In either displayed pane, click on either the Add Contacts or Edit Contacts link (see Note above) to display either the Add Contacts window or Edit Contacts window respectively. See Figure 462 below:
Figure 462
|
|
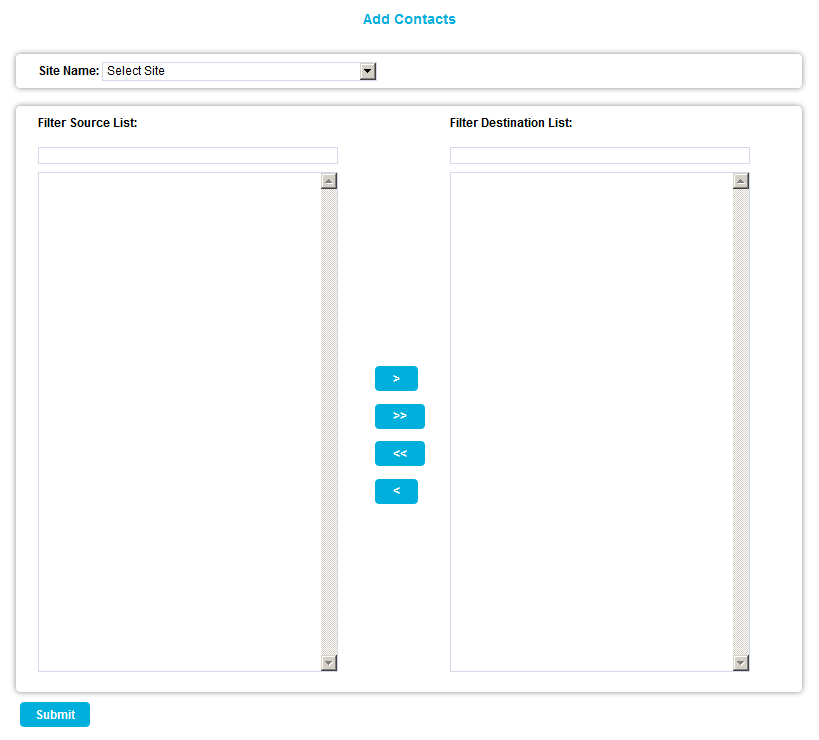
•The Hanwell SMS Unit can accept up to 10 contacts in the SMS Power and Communication Group.
3.Select a Site from the Site Name: drop-down list.
•Contacts associated with the selected Site will appear in the left hand Source List panel.
•If there are a large number of Sites/Contacts, the required Site/Contact can be found by starting to type the required Site/Contact's name into the Filter Source List: field; the list is edited to take account of what is being typed.
•On initial setup there will only be one Site available, which is created during the installation.
•See more about creating Sites in the Sites section.
4.To Add System/External Contacts:
•To add a single Contact to the SMS Power & Comms Group, select a single Contact in the Destination List panel and click on the single the right-facing arrow to move the selected Site Contact to the right-hand Destination List panel.
•If there are a large number of Contacts in the Destination List, the required Contact can be found by starting to type the required Contact's name into the Filter Source List: field; the list is edited to take account of what is being typed.
•To add all of a Site's Contacts to the SMS Power & Comms Group, click on the double arrow to move all of the selected Site's Contacts to the right-hand Destination List panel.
| Note: | Further Sites can be selected from the Site Name: drop-down list and their associated Contacts added to the Destination List using the procedures above. |
To Remove System/External Contacts:
•To remove a single Contact from the SMS Power & Comms Group, select a single Contact in the Destination List panel and click on the single left facing arrow to move the selected Site Contact to the Source: list.
•To remove all Contacts from the SMS Power & Comms Group, click on the double left facing arrow to move all of the group's Contacts to the Source: list.
5.Once you are happy with your selection of Sites/Contacts, select the Submit button at the bottom left of the Edit Contacts window.
•This will return you to the SMS Power & Communications Group window.
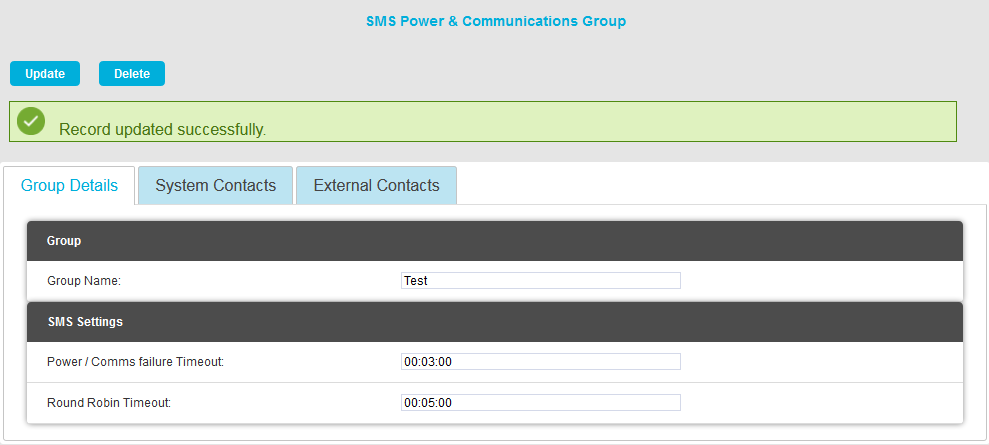
6.Click on the Submit (or Update) button at the top left of the window to add a new SMS Power and Comms Group (or save the changes to the SMS Power and Comms Group).
•If the SMS Power & Comms Group's details have been successfully updated, the following window will be displayed:
•If the SMS Power & Comms Group's details have been successfully updated or added, you will be returned to the SMS Power & Comms Group window, which will display a relevant green message dialog box, confirming the update/addition. See Figure 463 below:
Figure 463
To Delete the SMS Power & Comms Group
1.Select the SMS Power & Comms Group; displayed in the Group Name: dialog box in the SMS Power & Communications Group window.
2.Click on the Delete button in the SMS Power & Communications Group window. See Figure 463 above.
3.Click on Yes in the window displayed below:
Figure 464