
Contents
•EMS Installation Procedure - EMS Install Window
•EMS Installation Procedure - Installing EMS Server Components
•EMS Installation Procedure - Installing the EMS Server
•EMS Installation Procedure - Installing the EMS Server Instance
•EMS Installation Procedure - Install EMS Remote Management Tools
•EMS Installation Procedure - Installing the EMS SR2 Service
•EMS Installation Procedure - Install Completion
Please refer to Document IM5995 - Hanwell EMS Installation Manual.
EMS Installation Procedure - EMS Install Window
| 1. | Insert the EMS DVD. |
•The DVD autoruns.
If the DVD does not autorun, navigate to the DVD drive and double-click on the install.exe file.
•If installing on a VM, copy the install files to the VM Desktop and run from there.
| 2. | Double-click on the Run Install.exe icon. |
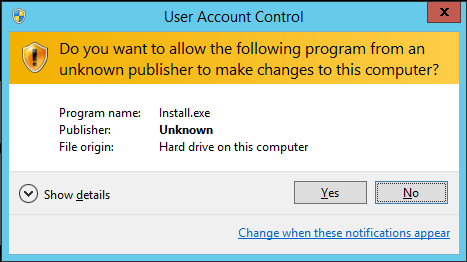
•If User Account Control is enabled, the User Account Control window will be displayed. See Figure 14 below:
Figure 14
•If User Account Control is disabled, this step will be skipped and the EMS Installer window will be displayed. See Figure 15 below.
| 3. | If the User Account Control window is displayed, click Yes. |
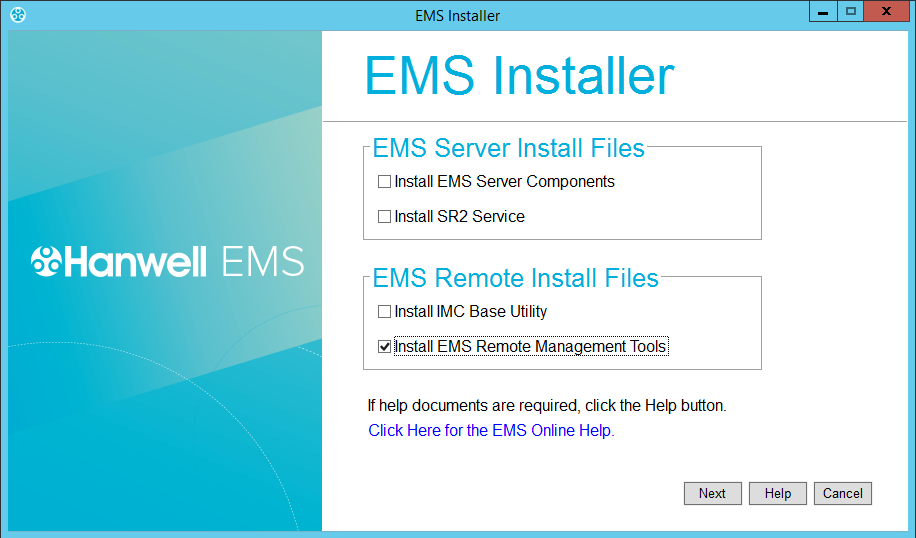
•The EMS Installer window is displayed. See Figure 15 below:
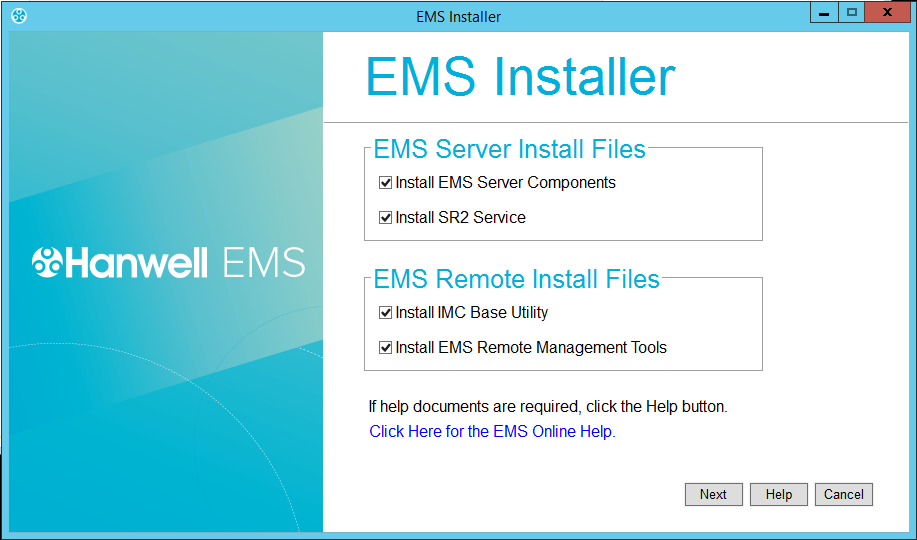
• If this is the EMS Server, tick Install EMS Server Components. See Figure 15 above:
•If you wish to synchronise Sensors from this machine, select Install EMS Remote Management Tools. See Figure 15 above.
| Note: | There must be an HTTP (Port 80) connection enabled between the Remote Management Tools and the EMS Server. |
•If SR2s are to be controlled from this machine, select Install SR2 Service. See Figure 16 below.
| Note: | Any necessary firewall changes must be made to allow Data and Command Port connections between the SR2 Service and the EMS Server. |
•If you are installing Selsium, a Hanwell ARB Module or a Hanwell SMS Module, you will need to install the Hanwell IceSpyBaseUtility on either the EMS Server or another machine on the LAN. See Document IM5994 - Hanwell IceSpyBaseUtility User Manual for further details. See 15 above.
| 4. | Click Next. |
EMS Installation Procedure - Installing EMS Server Components
1.Having clicked Next on the EMS Installer window, the Microsoft ODBC Driver 11 for SQL Server Licencelicensewindow may appear. See Figure 16 below:
Figure 16
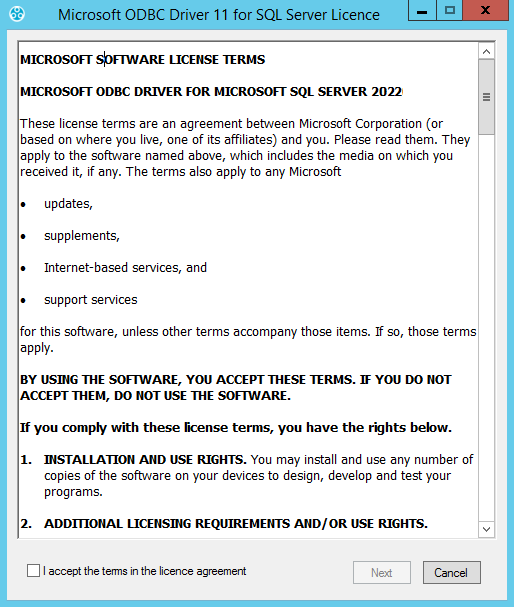
2.Read the LicencelicenseAgreement.
3.Select I accept the terms in the licencelicenseagreement.
4.Click Next.
5.Read the LicencelicenseAgreement and click Accept in the displayed Setup window. See Figure 17 below:
Figure 17
•The following Setup window is displayed. See Figure 18 below:
Figure 18
6.Click on Install to continue.
7.The following windows are displayed.
•See Figure 19 and Figure 20 below:
Figure 19
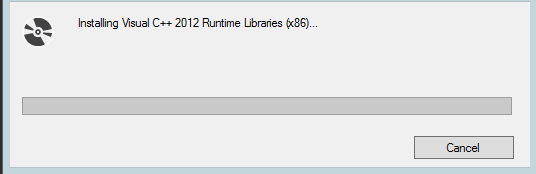
Figure 20
8.Check the I agree to the licenselilicenceterms and conditions box and then click on Install.
•The following window is displayed as the Setup progresses. See Figure 21 below:
Figure 21
•When the Setup has completed, the following window is displayed. See Figure 22 below:
Figure 22
9.Click on Close.
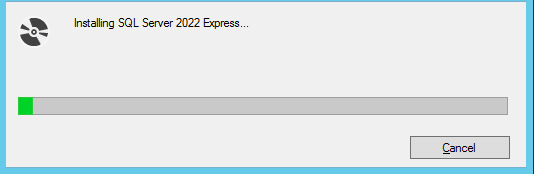
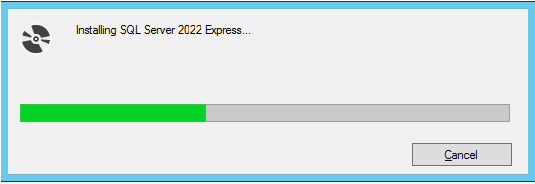
•If SQL Express is to be installed, the EMS Server Setup window will be displayed with a Progress Bar showing the progress of the SQL Server 2022 installation. See Figure 23 below:
| Note: | SQL installation will take several minutes. |
Figure 23
For an EMS W900A Installation:
The EMS Server A Setup - Welcome to the EMS Server Setup Wizard window is displayed. See Figure 24 below:
Figure 24

Click on Next.
•The EMS W900A Server Installation commences.
For an EMS W900B Server Installation:
The EMS Server B Setup - Welcome to the EMS Server Setup Wizard window is displayed. See Figure 25 below:
Figure 25
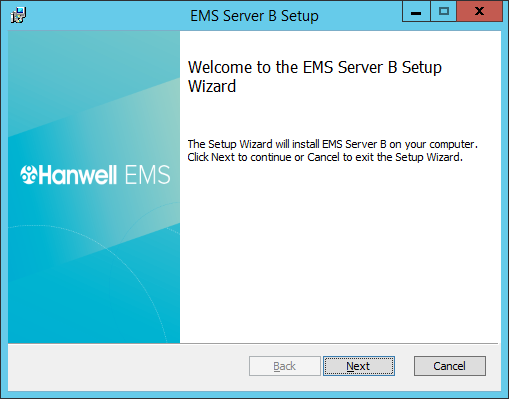
1.Click on Next.
•EMS will now install Microsoft SQL Express 2022, if it is not already installed on this machine. See Figure 26 below:
Figure 26
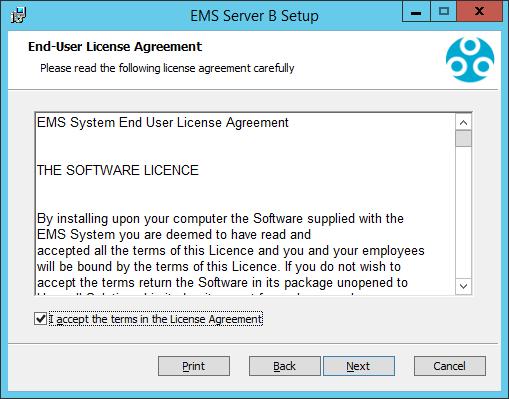
2.In the displayed EMS Setup window.
•Read the LicencelicenseAgreement and then click Accept.
➢This will allow SQL Server 2022 Express to be installed.
See Figure 27 below:
Figure 27
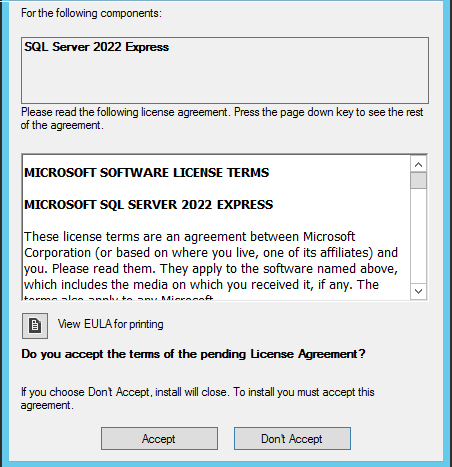
3.Click Accept.
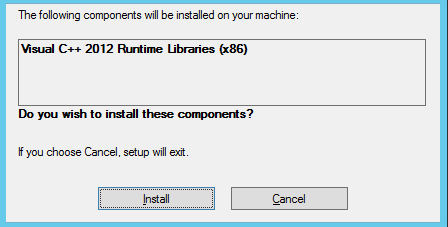
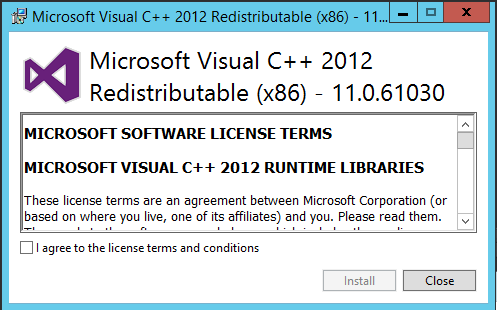
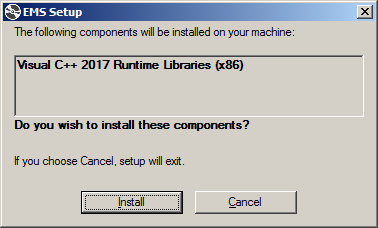
•After a short delay, the Microsoft Visual C++ 2017 Redistributable (x86) window may appear. See Figure 28 below:
Figure 28
4. Click Install.
•After a short delay, the Microsoft Visual C++ 2017 Redistributable (x86) window may appear. See Figure 29 below:
Figure 29
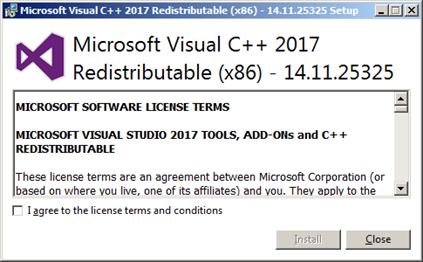
5.Read the LicencelicenseAgreement and tick the ‘I agree to the licencelicenseterms and conditions’ box.
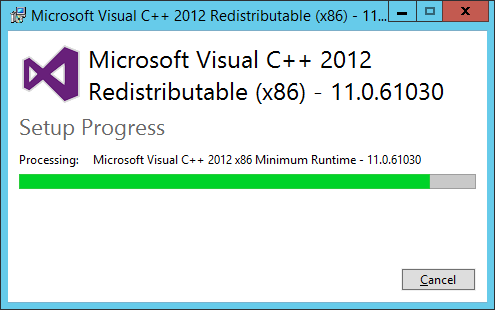
6.Click Install.
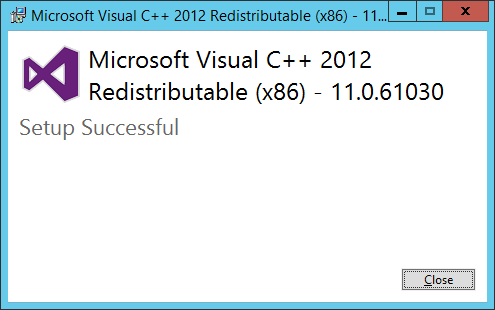
•After a short delay, Setup Successful will be displayed in the Microsoft Visual C++ 2017 Redistributable (x86) window. See Figure 30 below:
Figure 30
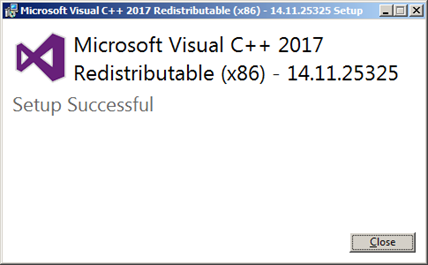
5.Click Close.
•If SQL Express is to be installed, the EMS Server Setup window will be displayed with a Progress Bar showing the progress of the SQL Server 2022 Express installation.
| Note: | SQL installation will take several minutes. |
Windows 10 Onwards
At this point, during the Microsoft SQL Server 2022 Express install, if installing EMS on a Windows 10 System or later, the Windows Features window may be displayed. See Figure 31 below:
Figure 31
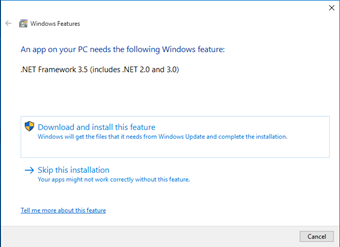
1.If the Windows Features window is displayed, select Download and Install this feature.
| Note: | Downloading .NET Framework 3.5 is internet access speed dependant and can take several minutes. |
•Once .NET Framework 3.5 installation has completed, another Windows Features window will display. See Figure 32 below:
Figure 32
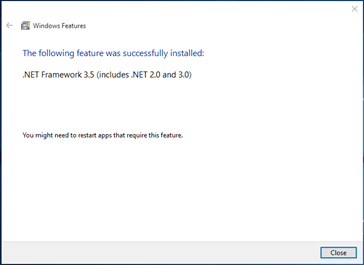
2.Click Close to continue and install the SQL Server.
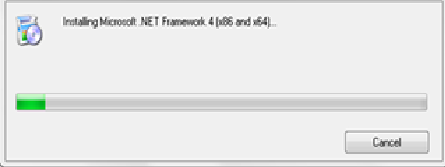
| Note: | The installation of Microsoft .NET and SQL components could take up to 20 minutes, please be patient. See Figure 33 below: |
Figure 33
|
|
EMS Installation Procedure - Installing the EMS Server
EMS Server Installation - W900A
1.Click Next in the displayed EMS Server A Setup - Welcome to the EMS Server A Setup Wizard window. See Figure 34 below:
Figure 34
2.Tick I accept the terms in the LicenselicenceAgreement and then click Next. See Figure 35 below:
Figure 35
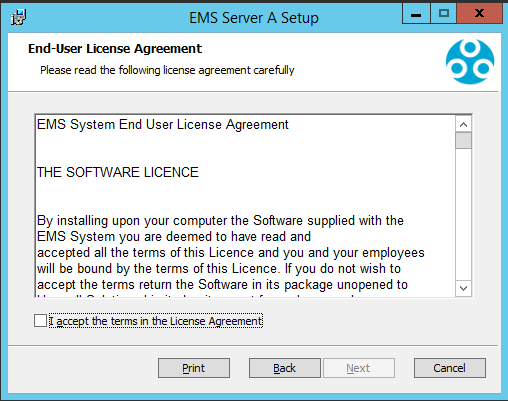
3.Tick I accept the terms in the LicenselicenceAgreement box and then click Next.
•The EMS Server A Setup - Ready to install EMS Server A window is displayed. See Figure 36 below:
Figure 36
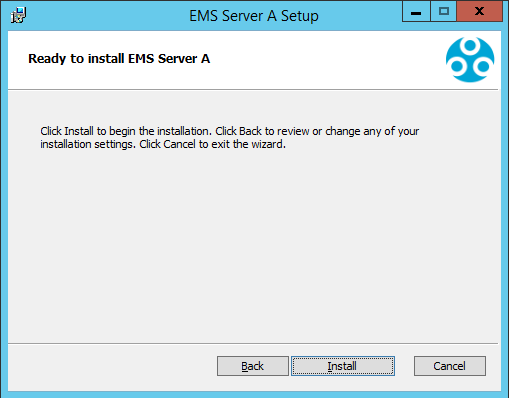
4.Click Install.
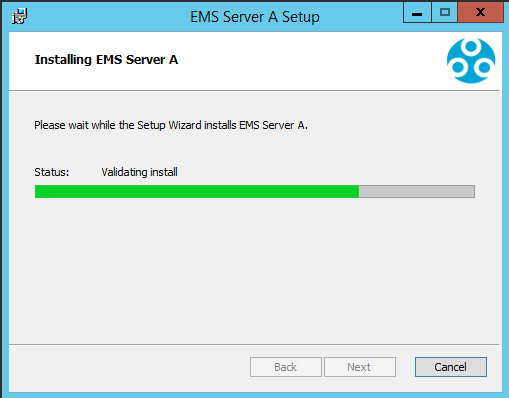
•The EMS Server A Setup - Installing EMS Server A window is displayed, with a Progress Bar indicating the progress of the Installation. See Figure 37 below:
Figure 37
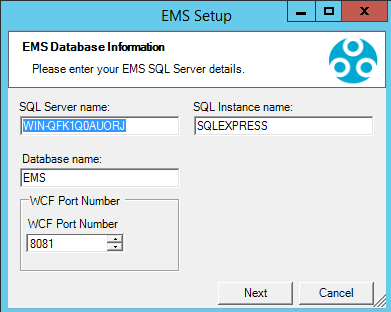
•When the EMS Server Installation is complete, the EMS Setup - EMS Database Information window is displayed, populated with a series of default settings as part of the EMS W900A Server Instance Installation. See Figure 38 below:
Figure 38
EMS Server Installation - W900B
For an EMS W900B install, the EMS Server B Setup – Service Account window will be displayed.
1.In the displayed EMS Server B Setup – Service Account window, enter the User Name and Password you have set up for the EMS System to use. See Figure 39 below:
Figure 39
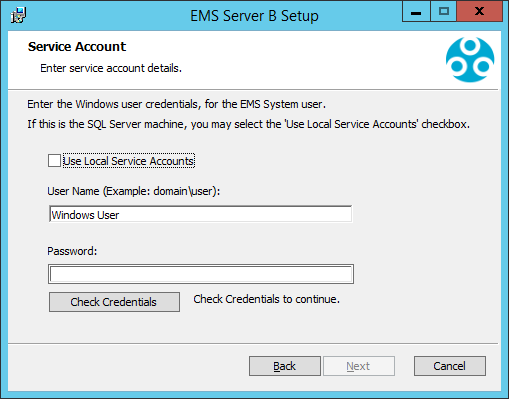
| 2. | If EMS is being installed on the SQL Server machine, you may select Use Local Service Accounts by ticking the box. |
3.Click Check Credentials.
4.Click Next.
•The EMS Server B Setup – Destination Folder window is displayed. See Figure 40 below:
Figure 40
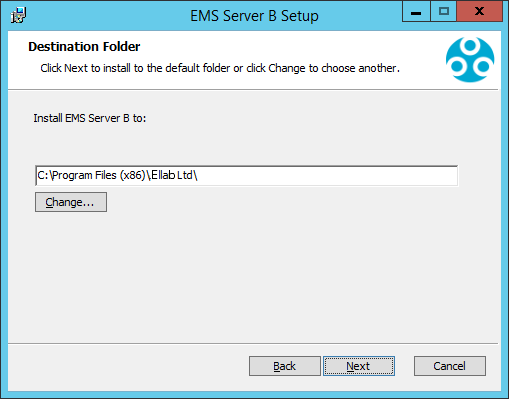
To change the Installation folder's location, click here.
i.Click Change.... ii.A folder browser dialog is displayed, allowing the Destination Folder to be changed. iii.When completed click Next. |
5.Click Next.
•The EMS Server B Setup - Ready to install EMS Server B window is displayed. See Figure 41 below:
Figure 41
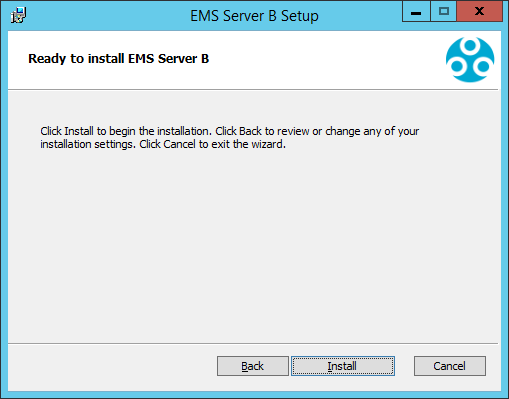
6. Click Install.
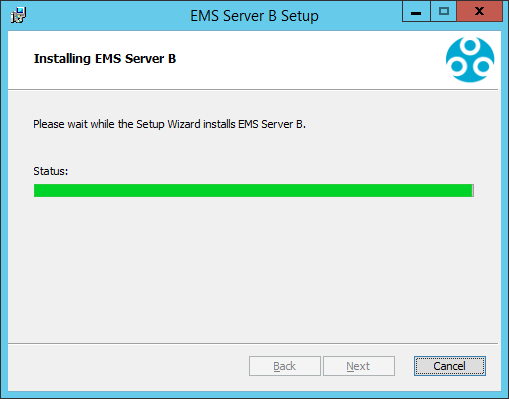
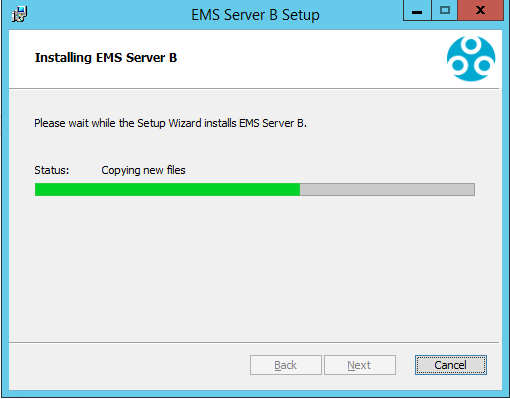
•The EMS Server B Setup - Installing EMS Server B window is displayed. See Figure 42 below:
Figure 42
•Once the installation is complete, the EMS Setup – EMS Database Information window will be displayed, populated with a series of default settings as part of the EMS W900B Server Instance Installation. See Figure 43 below:
Figure 43
EMS Installation Procedure - Installing the EMS Server Instance
•For an EMS W900A Installation
•For an EMS W900B Installation
Installing the EMS Server Instance - EMS W900A Installation
For an EMS W900A installation, the EMS Setup – EMS Database Information window will now be displayed, populated with a series of default settings. See Figure 44 below:
Figure 44
| 1. | When installing to a machine with NO EXISTING Microsoft SQL Express installation, leave the settings shown in Figure 44 above at their default values. |
When installing to a machine with AN EXISTING Microsoft SQL Express installation, the Server name and Instance name fields shown in Figure 24 above must be set to the existing Microsoft SQL Express Server name and Instance name.
•These can be obtained from your System Administrator or from the connection information shown in Microsoft SQL Server Management Studio, (SSMS); the connection information is displayed in the format:
[Server name]\[Instance name].
•For help with using SSMS use the Help and Tutorial provided with SSMS.
| 2. | If Port 8081 is unavailable for the WCF service - |
Either:
Enter the Port Number required for this installation into the WCF Port Number field.
Or:
Select the required number by clicking on the field’s up and down arrows.
| Note: | If you do not know these SQL Server details, ask your System Administrator or IT Support Provider. |
| 3. | Click Next. |
4.The EMS Setup - EMS Location Information window is displayed. See Figure 45 below:
Figure 45
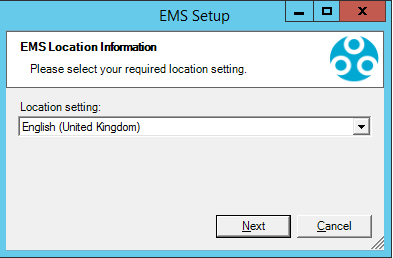
5. Select your location from within the Location setting: drop-down list.
| Caution: | Ensure that your Location is set correctly, otherwise date and times sent in SMS and Email messages may be incorrectly formatted. |
6.Click Next.
•The EMS Server A Setup - Installing EMS Server A window is displayed showing a status bar illustrating the progress of the Setup. See Figure 46 below:
Figure 46

•When the Setup has completed, the EMS Server A Setup - Completed the EMS Server A Setup Wizard window is displayed. See Figure 47 below:
Figure 47

7.Click Finish.
•The following window is displayed. See Figure 48 below:
Figure 48
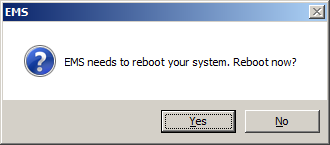
8.Click on Yes to reboot your System and complete the installation of the EMS Server Instance for W900A.
Installing the EMS Server Instance - EMS W900B Installation
For an EMS W900B installation, the EMS Setup – EMS Database Information window will now be displayed. See Figure 49 below:
Figure 49
| 1. | Enter the required SQL Server name and, if necessary to identify a particular SQL Server Instance: |
Either:
Enter the required SQL Instance Name.
Or:
Tick the Use Port Number box and set the required Port Number, for the Microsoft SQL Server Instance that EMS will be using, in the numeric control box by using the up and down arrows. See Figure 49 above.
| Note: | The existing Microsoft SQL Server must be a version from 2014 onwards. |
2.If Port 8081 is unavailable for the WCF service either enter the Port Number required for this installation into the WCF Port Number field or select the required number by clicking on the field’s up and down arrows.
| Note: | If you do not know these SQL Server details, ask your System Administrator or IT Support Provider. |
3.Click Next.
•The EMS Server B Setup – Installing EMS Server B window is displayed with a progress bar, followed by the EMS Setup – EMS Location Information window. See Figures 50 and <%HMFIGURECOUNTER+2%> below:
Figure 50

Figure 51
| 4. | Select your location from within the Location setting: drop-down list in the EMS Setup – EMS Location Information window. |
| Caution: | Ensure that your Location is set correctly, otherwise date and times sent in SMS and Email messages may be incorrectly formatted. |
5.Click Next.
•The EMS Server B Setup - Installing EMS Server B window is displayed. See Figure 52 below:
Figure 52
•The EMS Server Setup – Completed the EMS Server B Setup Wizard window is displayed, signifying that the EMS Server’s installation is now complete. See Figure 53 below:
Figure 53
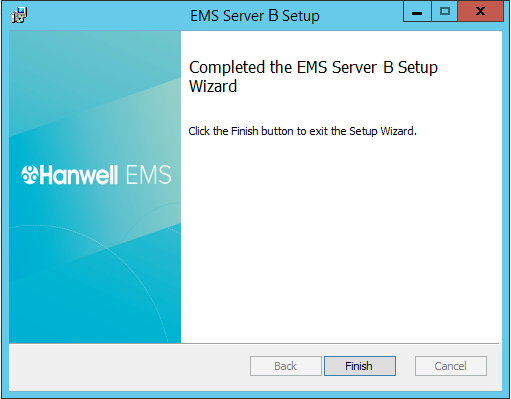
6. Click Finish.
•The following window is displayed. See Figure 54 below:
Figure 54
7.Click on Yes to reboot your System and complete the installation of the EMS Server Instance for W900A.
EMS Installation Procedure - Install EMS Remote Management Tools
The Remote Management Tools application provides connectivity tools to Synchronise, Calibrate and Merge Sensors and to setup SR2s on a network remote from the EMS Sensor.
This application requires http: Port 80, access to the EMS Server.
If the Customer wishes to use the Remote Sensor Management application, then the Customer must ensure that Firewalls are configured to allow http: Port 80 access from the Remote Network to the EMS Server.
Remote Management Tools Installation Procedure
| Note: | The Figures in this Section are for a Windows 7 or Windows 2008 installation. The appearance of the Windows for a Windows Server 2012 installation will be slightly different. |
1.Load the EMS installation DVD.
•The AutoPlay window is displayed.
2.Double-click on the Run Install.exe icon.
•If User Account Control is enabled, the User Account Control window will be displayed. See Figure 55 below:
Figure 55
•If User Account Control is disabled, this step will be skipped and the EMS Install window will be displayed. See Figure 56 below.
3.If the User Account Control window is displayed, click Yes.
•The EMS Installer window will be displayed. See Figure 56 below:
Figure 56
4. Check the Install EMS Remote Management Tools box. See Figure 56 above.
| Note: | The installation package will not allow you to install the Remote Management Tools and other Services. |
5.Click Next.
•The EMSRemoteManagementTools Setup – Welcome to the EMSRemoteManagementTools Setup Wizard is displayed. See Figure 57 below:
Figure 57

6.Click Next.
•The EMSRemoteManagementTools Setup – End-User LicencelicenseAgreement window is displayed and the process of installing the EMS Remote Management Tools commences. See Figure 58 below:
Figure 58
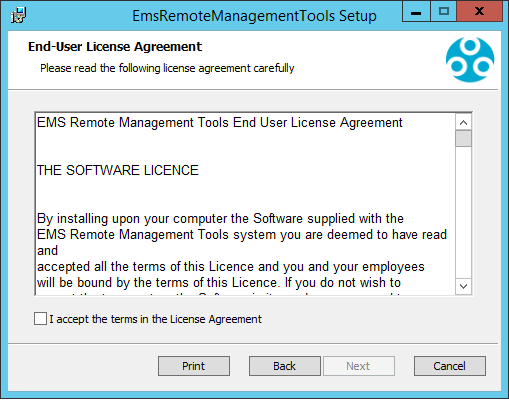
7.Read the LicencelicenseAgreement, then tick the I accept the terms in the LicencelicenseAgreement box.
8.Click Next.
•The EMSRemoteManagementTools Setup – Destination Folder window is displayed. See Figure 59 below:
Figure 59
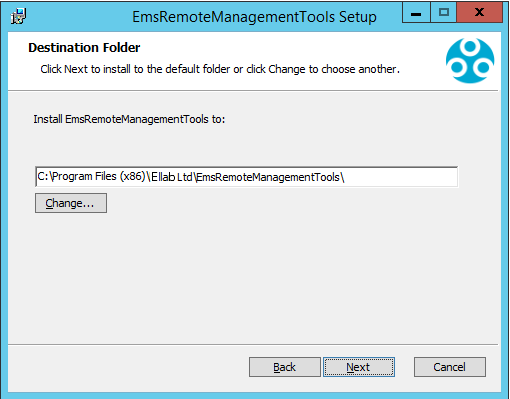
•Click Change… to navigate to a Destination folder for the Remote Management Tools Service or simply click Next to save to the Default Location (recommended).
| Note: | Unless necessary, it is recommended leaving the pre-location for the installation of the EMS Remote Management Tools Service. |
9.Once the location of the EMS Remote Management Tools has been entered or the default location selected, click Next.
•The EMSRemoteManagementTools Setup – Ready to install EMSRemoteManagementTools window is displayed. See Figure 60 below:
Figure 60
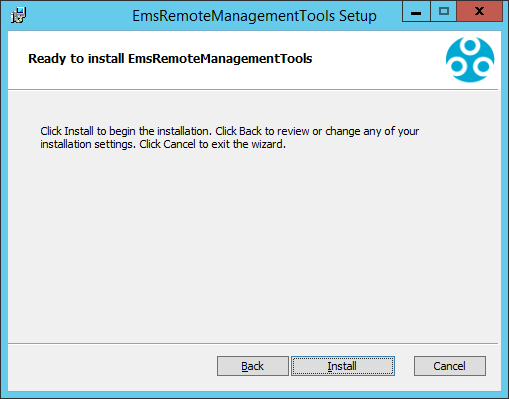
10. Click Install.
•The EMS Remote Management Tools installation will now run to completion, displaying the EMSRemoteManagementTools Setup – Completed the EMSRemoteManagementTools Setup Wizard window when the installation of the EMS Remote Management Tools is complete. See Figure 61 below:
Figure 61
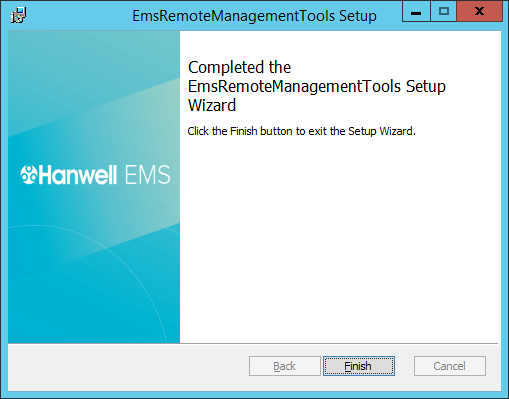
11.Click Finish.
EMS Installation Procedure - Installing the EMS SR2 Service
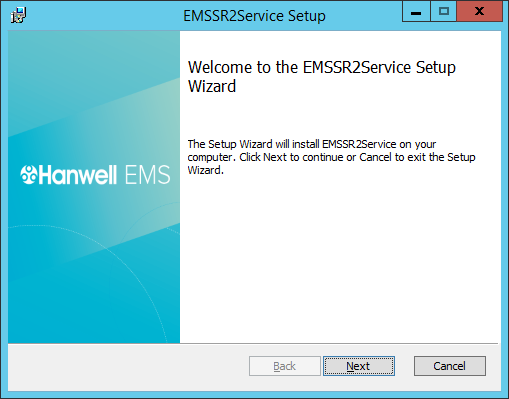
If the SR2 Service box has been checked on the EMS Installer window, the next stage will begin the installation of the EMS SR2 Server, this is necessary to allow Smart Receiver Control Devices to communicate with the EMS Server locally or remotely.
| 1. | Click Next on the displayed EMSSR2Service Setup window. |
•This will install the EMS SR2 Service. See Figure 62 below:
Figure 62
| 2. | Read the End-User LicencelicenseAgreement. See Figure 63 below: |
Figure 63
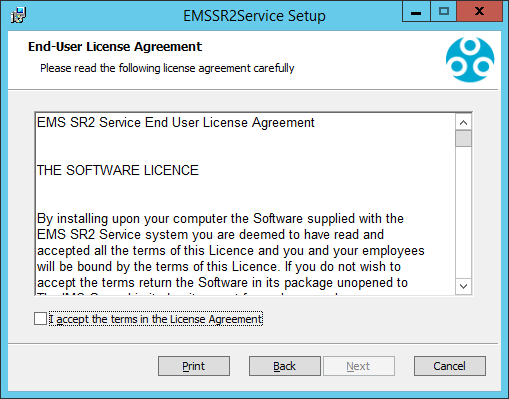
| 3. | Tick the I accept the terms in the LicencelicenseAgreement box. |
4.Click Next.
•The EMSSR2Service Setup – Destination Folder window is displayed. See Figure 64 below:
Figure 64
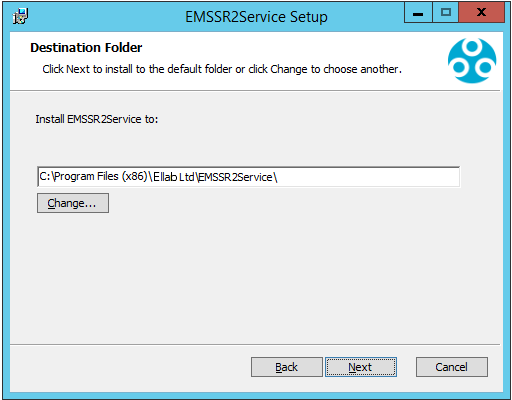
| 5. | Click Change… to navigate to a Destination folder for the EMSSR2 Service or simply click Next to save to the Default Location (recommended). |
| Note: | Unless absolutely necessary, it is recommended leaving the pre-set default location for the installation of the EMS SR2 Service. See Figure 64 above. |
6.Click Next.
•The EMSSR2Service – Ready to install EMSSR2Service window is displayed. See Figure 65 below:
Figure 65
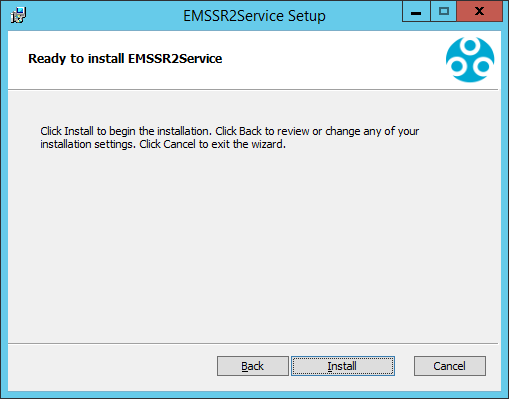
7. Click Install to begin the installation of the EMS SR2 Service.
•The EMS Setup – Address and Port Information window is displayed. See Figure 66 below:
Figure 66

| 8. | Fill out the window’s fields paying particular attention to the following: |
EMS: IP Address/Hostname
•When installing Distributed Hardware Services, the EMS IP Address / Hostname must be set during installation of the Hardware Service. This must match the address of the EMS Server where the Data Service is installed.
•For this System, at least one SR2 Service will need to have non-default Service names set during installation; the non-default Hardware Service Name would then need to be added to the Hardware Service Name: field, when creating the new System from the EMSConfig Utility.
EMS: Port Number and Service Commands: Listening Port No
•Unless absolutely necessary, it is recommended leaving the pre-set allocated Listening Port Number and Port Number at their default settings, as shown in Figure 66 above.
•However, if the customer already has a different program using the same Port Numbers, then these can be changed at this stage to your IT Department’s specification.
•Refer to the Allocated Ports table shown here and ensure no other Ports are currently in use by another program on the host machine.
Service Name
If installing the SR2 Service on multiple machines, ensure that each service has a different Service Name entered in the Service Unique Name (3 to 80 characters): text field.
•Keep a list of the Service Names used, as each unique Service Name needs to be added to the list of Hardware Service names in the Config Utility.
•For single SR2 Service installations, the default Service Unique Name is recommended. See Figure 66 above.
9.Once the fields have been filled in with either default names, addresses and numbers or User Defined values, click Next.
•The EMSSR2Service Setup – Completed the EMSSR2Service Setup Wizard window is displayed. See Figure 67 below:
Figure 67
| 10. | Click Finish to complete the installation of the EMS SR2 Service. |
EMS Installation Procedure - Install Completion
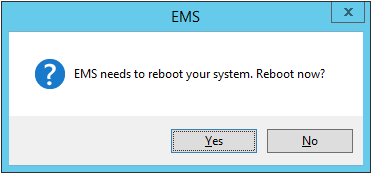
On completion of an install that includes EMS Server Components, the Server must be rebooted to ensure correct operation.
•Select Yes to the reboot request. See Figure 68 below:
Figure 68
If a Service has to be re-installed:
1.Uninstall the Service using Windows Control Panel > Uninstall Programs.
2.Run Install.exe from the DVD.
3.Follow your Operating System’s Installation Instructions from the beginning of this section onwards.