Navigation:
System Configuration Admin > User Management > Site Access Privileges >> Deleting, Disabling and Retiring Users
Deleting, Disabling and Retiring Users

Contents
WARNING: Deleting Users Cannot Be Undone!
From the Edit/View Users window (see Edit/View Users):
1.Select the [Delete] from the Actions column in the Edit/View Users window (see Figure 308 below), on the row corresponding to the User to be deleted.
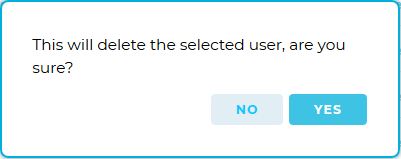
2.Once you are happy with your selection, confirm the deletion by clicking Yes on the warning dialog box (see Figure 307).
•This will delete the selected User's record.
•Cancel the deletion by clicking No. (see Figure 309 below).
Figure 308
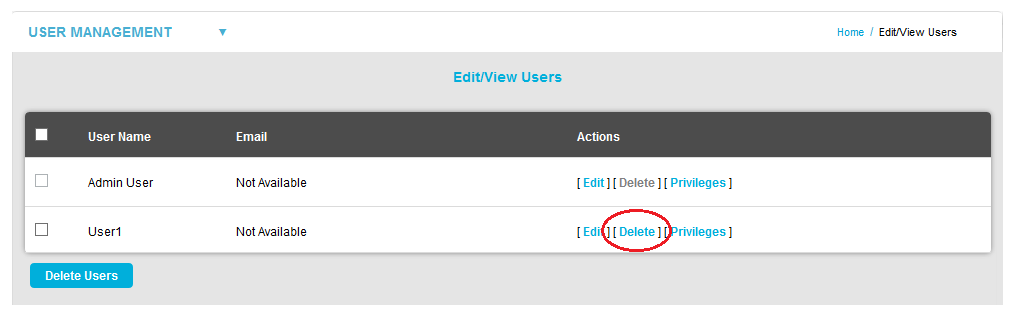
Figure 309
If more than one User is to be deleted:
Either:
1.Tick the checkboxes to the left of the User Names of the Users to be deleted (see Figure 308).
•Multiple User Names/Users can be selected.
2.Once you are happy with your selections click the Delete Users button (see Figure 308).
3.Confirm the deletion by clicking Yes on the warning dialog box (see Figure 309)
•Cancel the deletion by clicking No.
Or:
1.Click the tick box next to User Name column heading to select all Users (see Figure 308).
WARNING: This Will Select All Users For Deletion.
2.Once you are absolutely sure you want to delete all users click Delete Users (see Figure 308).
3.Confirm the deletion by clicking Yes on the warning dialog box (see Figure 309)
•Cancel the deletion by clicking No.
With W906 Validated EMS installed and a W901 Licence applied to it, Users can only be Retired or Disabled, NOT Deleted.
➢ Retiring a user:
• This is a permanent change and cannot be undone.
• When a User is Retired, their User Name cannot be used again and the associated User License is locked and cannot be reused.
• New Users will not be able to re-use the retired name; attempts to enter it will result in a request to enter a new User Name.
• An alternative to retiring a user is to Disable a User. When a user is Disabled, the license is not locked and the User License can be repurposed.
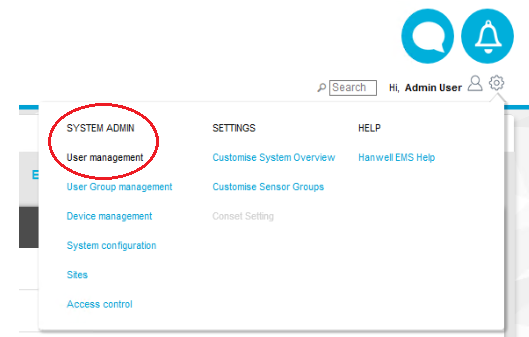
1.Click on User management in the SYSTEM ADMIN section of the System menu (see Figure 310 below):
Figure 310
2.Click on Edit/View Users in the USER MANAGEMENT drop-down menu.
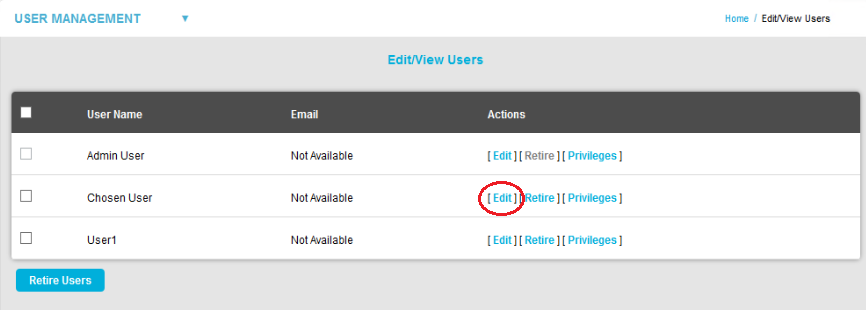
•The Edit/View Users window is displayed showing all of the Users that have been previously added (see Figure 311 below):
4.Click Edit in the Actions column for the chosen User (see Figure 311 below):
Figure 311
•The Edit User [Chosen User] screen is displayed, showing editable fields for the chosen User (see Figure 312 below):
Figure 312
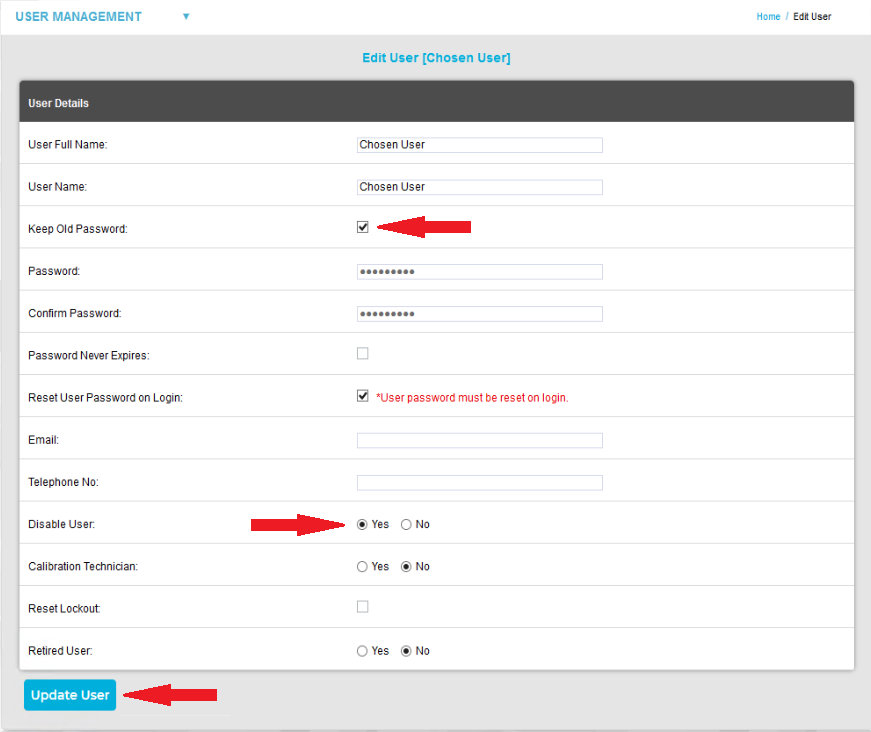
5.Click in the Keep Old Password: field
6.Click the Yes radio button in the Disable User: row.
7.Click Update User.
•Either:
The Signature Authorisation Required window is displayed (see Figure 313 below):
Figure 313

•Or:
If Counter Signatures are enabled, the Signature and Counter Signature Authorisation Required window is displayed (see Figure 314 below):
Figure 314

8.Enter the Admin User's password into the Password: field for Admin User.
9.If Counter Signatures are enabled:
i.Select the User chosen as Counter Signatory from the User: (Counter-signature) pull-down list.
ii.Enter Counter Signatory’s password in the Password: (Counter-signature) field.
10.Click Submit.
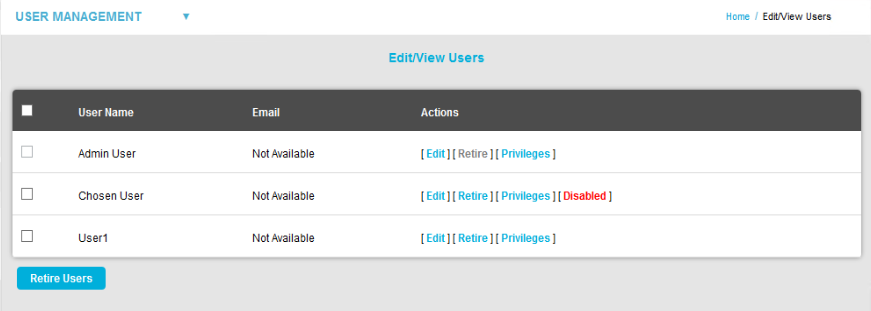
•The Edit/View Users window is displayed with the chosen User’s entry annotated with [Disabled] (see Figure 315 below):
Figure 315
To undo disabling a User, repeat Steps 1 - 5 above, then:
1.Click the No radio button in the Disable User: row (see Figure 313 above).
2.Click Update User.
•Either:
The Signature Authorisation Required window is displayed (see Figure 316 below):
Figure 316
•Or:
If Counter Signatures are enabled, the Signature and Counter Signature Authorisation Required window is displayed (see Figure 317 below):
Figure 317
3.Enter the Admin User's password into the Password: field for Admin User.
4.If Counter Signatures are enabled:
i.Select the User chosen as Counter Signatory from the User: (Counter-signature) pull-down list.
iii.Enter Counter Signatory’s password in the Password: (Counter-signature) field.
5.Click Submit.
•The Edit/View Users window is displayed with the chosen User’s [Disabled] annotation removed (see Figure 316 above).
WARNING: RETIRING A USER CANNOT BE UNDONE AND WILL REVOKE THE ASSOCIATED LICENCE.
1.Click on User management in the SYSTEM ADMIN section of the System menu (see Figure 318 below):
Figure 318
2.Click on Edit/View Users in the USER MANAGEMENT drop-down menu.
•The Edit/View Users window is displayed showing all of the Users that have been previously added (see Figure 319 below).
3.Tick the box to the left of the chosen User’s entry (see Figure 319 below):
Figure 319
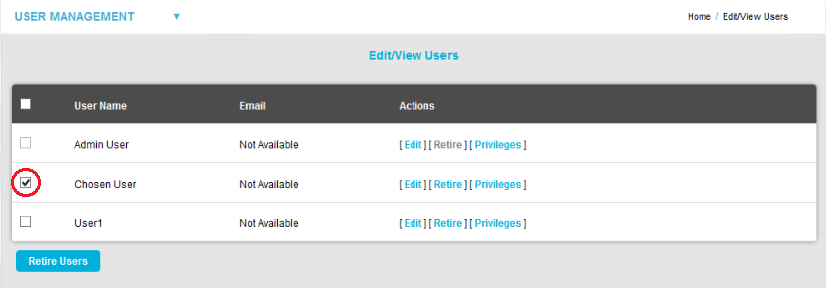
4.Click the Retire Users button on the Edit/View window.
•The following warning dialog is displayed (see Figure 320 below):
Figure 320:
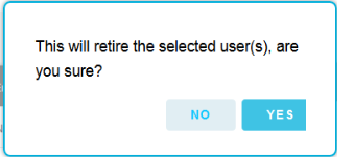
5.Click on Yes.
•Either:
The Signature Authorisation Required window is displayed (see Figure 321 below):
Figure 321
•Or:
If Counter Signatures are enabled, the Signature and Counter Signature Authorisation Required window is displayed (see Figure 322 below):
Figure 322
6.Enter the Admin User's password into the Password: field for Admin User.
7.If Counter Signatures are enabled:
i.Select the User chosen as Counter Signatory from the User: (Counter-signature) pull-down list.
ii.Enter Counter Signatory’s password in the Password: (Counter-signature) field.
8.Click the Submit button.
•The Edit/View Users window is displayed with a green Retired users banner and the retired User's entry annotated with [Retired] (see Figure 323 below):
Figure 323
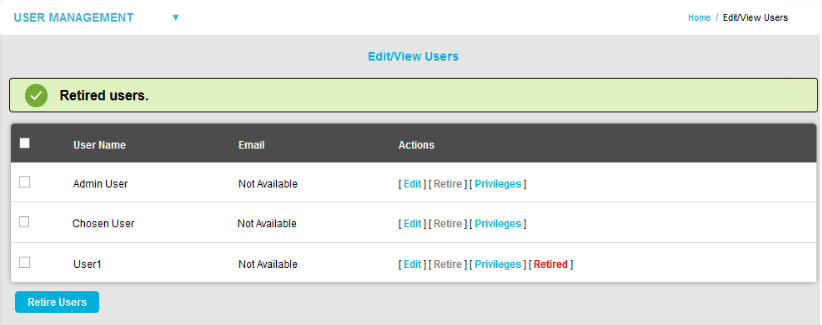
• The User is now permanently retired from the System, their associated User License is locked and their User Name cannot be re-used for another User.
• Clicking on [Edit] for their entry Edit/View Users window will display the Edit User [ Retired User ] window being displayed as follows (see Figure 324 below):
Figure 324:
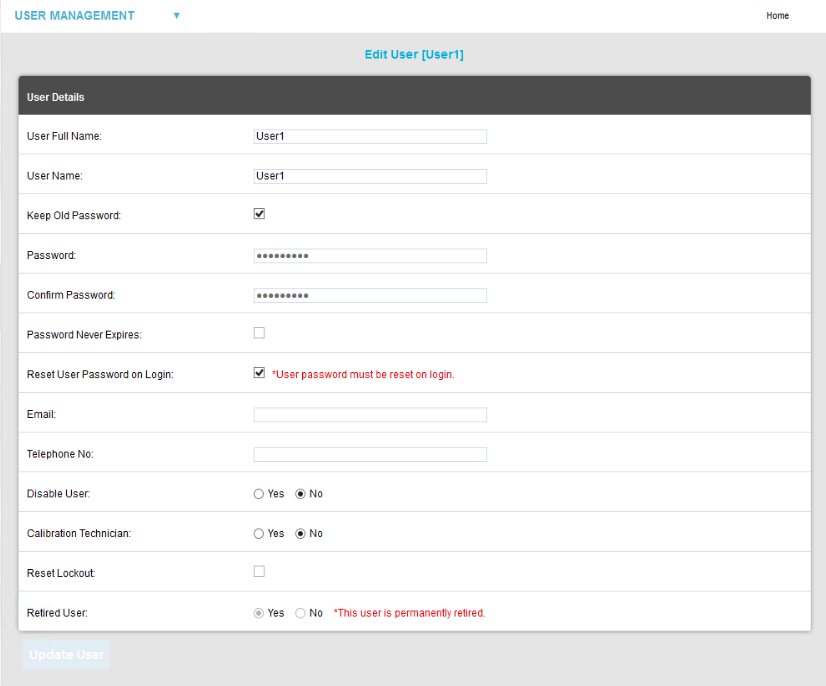
•Note the annotation adjacent to the Retired User: entry and the greyed out Update User button.